
Uncategorized
Air purifier maintenance workflow for cleaner home air
Apr
TL;DR:
- Regular maintenance, including timely filter replacement, is essential for optimal air purifier performance.
- Proper preparation and understanding of CADR ratings help extend filter life and improve air quality.
- Monitoring results and addressing common maintenance mistakes ensure cleaner, healthier indoor air.
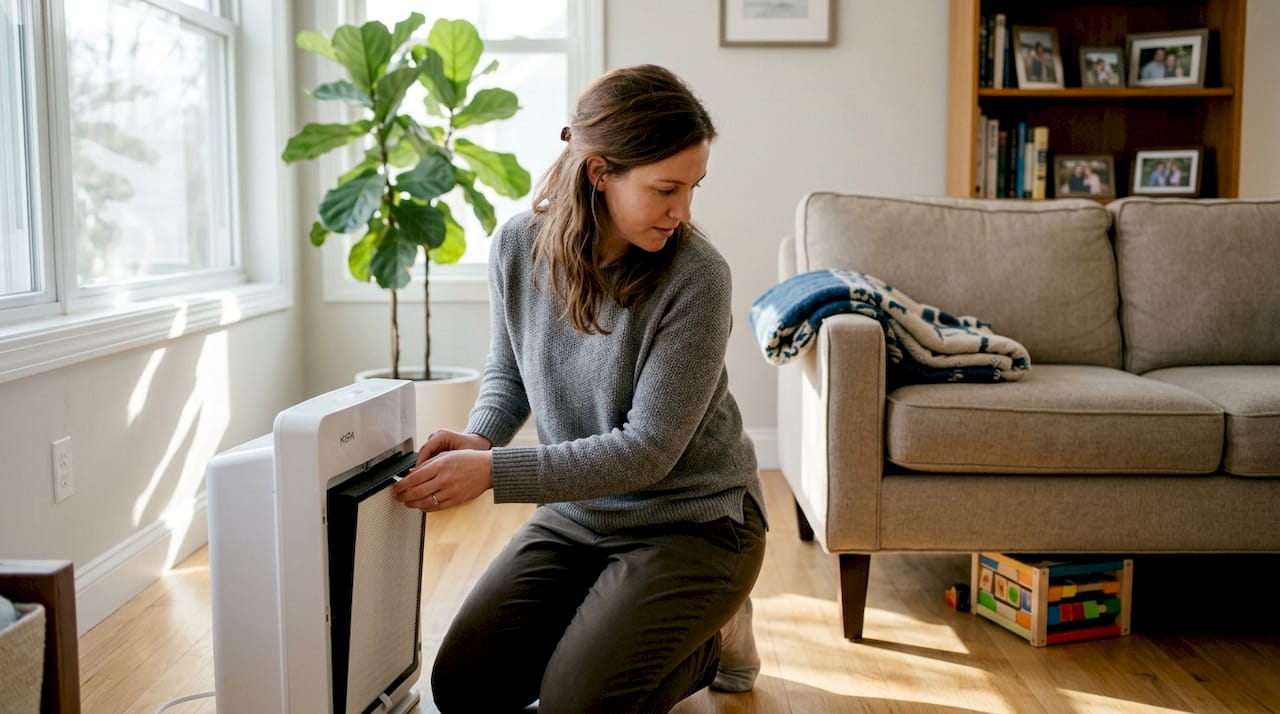
Your air purifier is only as good as the maintenance behind it. A clogged or neglected filter doesn’t just slow the machine down — it actively pushes dirty, particle-laden air back into the room your family breathes every day. Many homeowners invest in a quality purifier and then forget about it for months, wondering why allergies are still flaring and the house still smells stale. This guide walks you through a practical, easy-to-follow maintenance workflow that keeps your purifier performing at its best, from gathering your supplies to verifying real improvements in your home’s air quality.
Table of Contents
- What you need before you start
- Step-by-step air purifier maintenance workflow
- Troubleshooting and common mistakes
- Measuring results and optimizing for healthier air
- Why home air purifier maintenance is more strategic than you think
- Take the next step toward healthier home air
- Frequently asked questions
Key Takeaways
| Point | Details |
|---|---|
| Maintenance drives results | Sticking to a reliable maintenance workflow is crucial for cleaner, healthier indoor air. |
| Preparation prevents delays | Having tools and filters ready before starting maintenance saves time and reduces hassle. |
| CADR and filter timing matter | Matching your purifier’s CADR to your room and timely filter replacements keep performance high. |
| Troubleshooting helps avoid issues | Recognizing common warning signs lets you fix problems early and prevent poor air quality. |
What you need before you start
Understanding what you need ensures you won’t be caught off guard during maintenance. Walking into a filter swap without the right supplies is a fast way to end up with a half-assembled purifier and a trip to the hardware store. Gather everything first, and the whole process takes under 30 minutes.
Here’s what to have on hand before you begin:
- Replacement filters (HEPA and activated carbon, matched to your model)
- Soft microfiber cloth for wiping down surfaces and sensors
- Small vacuum with brush attachment for pre-filter cleaning
- Disposable gloves to avoid transferring oils and debris
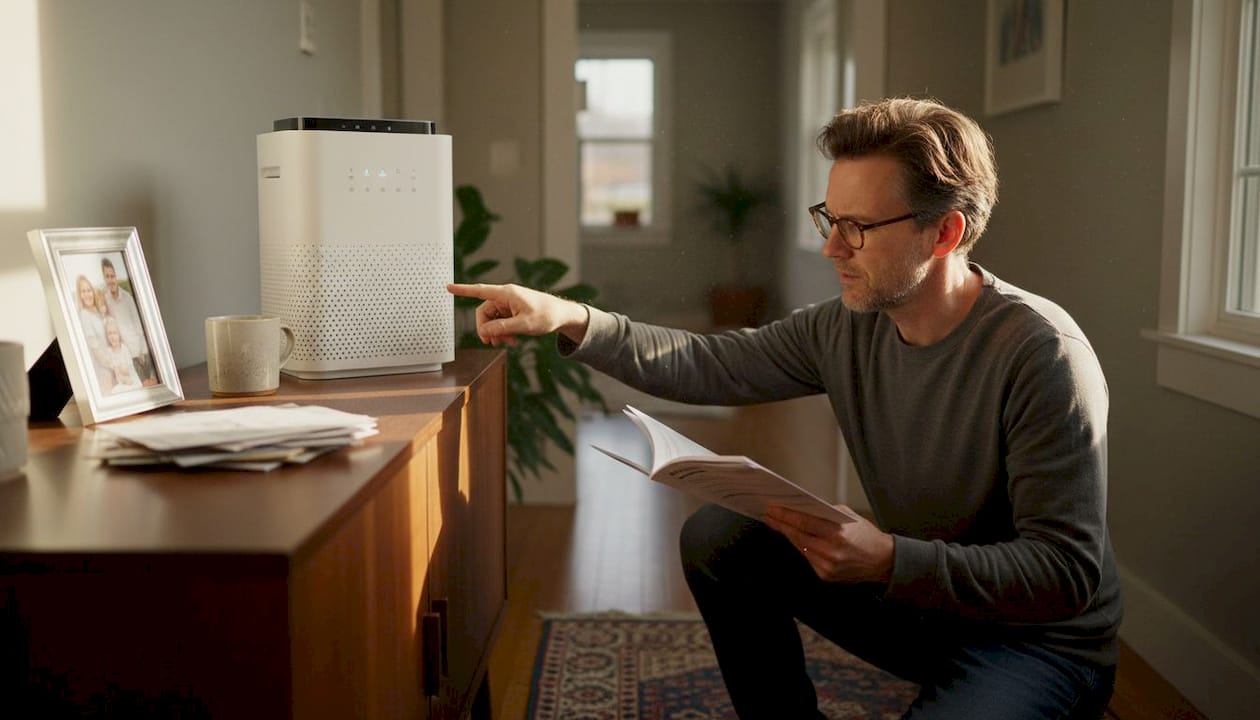
- Manufacturer’s manual for model-specific steps and reset codes
- Mild soap and water for exterior cleaning
One of the most overlooked prep steps is knowing your filter’s actual lifespan. The EPA recommends replacing filters per manufacturer instructions, typically every 60 to 90 days, though heavy use or high-pollution environments can shorten that window significantly. Reviewing your filter maintenance essentials before starting helps you confirm you have the right replacement on hand.
Another key concept to understand before you start is the CADR rating (Clean Air Delivery Rate). This number tells you how quickly your purifier cleans a specific volume of air. When your purifier’s CADR is too low for the room it’s placed in, the filter works overtime and clogs faster than expected. Matching CADR to room size is a simple step that extends filter life and improves results. You can review a full purifier maintenance checklist to make sure your setup is properly sized.
| Room size | Recommended minimum CADR | Suggested filter check interval |
|---|---|---|
| Under 150 sq ft | 100 | Every 90 days |
| 150 to 300 sq ft | 150 to 200 | Every 60 to 75 days |
| 300 to 500 sq ft | 250 to 300 | Every 45 to 60 days |
| Over 500 sq ft | 350+ | Every 30 to 45 days |
Pro Tip: Order a spare set of filters when you install a new one. That way, when the replacement indicator lights up, you’re not scrambling to find the right model number at the last minute.
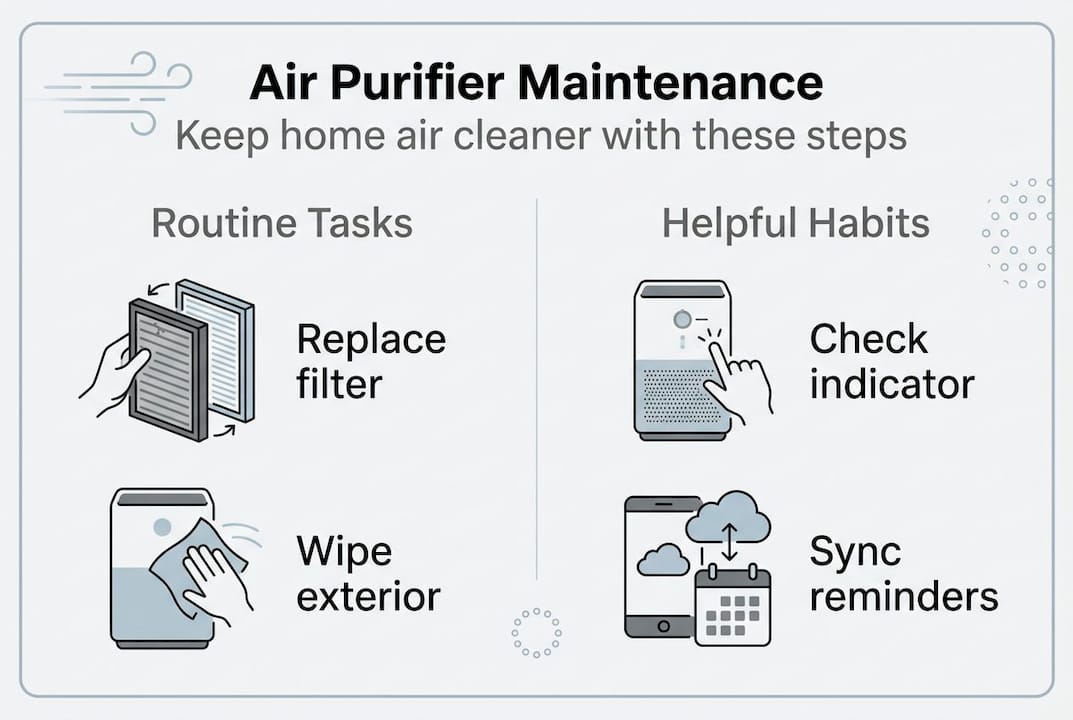
Step-by-step air purifier maintenance workflow
Now that you’re prepared, here’s a straightforward workflow to keep your device running efficiently. Follow these steps in order every time you service your unit.
- Power off and unplug the unit completely before touching any components.
- Remove the filter panel by following the instructions in your manual — each model has a slightly different latch or release mechanism.
- Clean the pre-filter using a soft brush or vacuum attachment. Pre-filters catch large particles like pet hair and dust, and cleaning them extends the life of the HEPA layer underneath.
- Inspect and replace the HEPA and activated carbon filters if they’re due. Never wash a HEPA filter — water damages the fiber structure and destroys its ability to trap fine particles.
- Wipe down the exterior and sensors with a lightly dampened cloth. Dirty sensors give false air quality readings, which can cause the unit to run at the wrong speed.
- Reassemble and power on. Reset the filter indicator light per your manual, then run the unit on high for 10 minutes to confirm airflow is strong and even.
A well-designed cleaning process guide can walk you through model-specific nuances, especially for multi-stage filtration systems. The EPA workflow recommendation also emphasizes using the correct CADR rating to size your purifier for the room, which directly impacts how often you’ll need to run through this workflow.
Safety warning: Always unplug your air purifier before servicing. Never attempt filter replacement while the unit is connected to power.
One thing many people skip is tracking their maintenance schedule. Here’s a quick comparison of reminder methods:
| Method | Ease of use | Reliability | Best for |
|---|---|---|---|
| Physical calendar | Simple | Moderate | Low-tech households |
| Smartphone app reminder | Easy | High | Busy families |
| Built-in filter indicator light | Automatic | High | Most modern purifiers |
| Household chore sync | Moderate | Moderate | Routine-driven users |
Always cross-reference your air purification checklist to make sure no step gets skipped, especially after long gaps between service sessions.
Troubleshooting and common mistakes
Even a solid workflow can run into roadblocks — here’s how to tackle and prevent them. Most maintenance problems come down to a few repeated mistakes that are easy to fix once you know what to look for.
Common symptoms that signal your purifier needs attention:
- Musty or stale odor coming from the unit even when running
- Noticeably weak airflow despite the fan running at full speed
- Loud rattling or vibrating during operation
- Allergy symptoms worsening at home despite the purifier being on
- Filter indicator light that won’t reset after a replacement
The three most frequent mistakes homeowners make are forgetting to replace filters on schedule, not resetting the indicator light after a swap, and using off-brand or incompatible filters. Off-brand filters may not seal properly against the unit’s frame, allowing unfiltered air to bypass the media entirely. The EPA guidance on HEPA filters is clear: regular replacement is crucial for maintaining best air quality, and portable purifiers specifically benefit from genuine HEPA media rather than HVAC-style MERV filters.
Failure to replace filters every 60 to 90 days can allow indoor pollutants to build up significantly, reducing the purifier’s effectiveness to near zero. That’s not a small inconvenience — it means your family is breathing air that’s barely being filtered at all. Reviewing cost-saving purification tips can help you balance filter costs with performance, and a solid maintenance performance guide makes it easier to stay on track.
Before calling tech support, run through this quick checklist:
- Is the unit fully plugged in and powered on?
- Has the filter indicator been reset after the last replacement?
- Is the air intake vent free of obstructions like furniture or curtains?
- Is the unit placed at least 18 inches from walls for proper airflow?
Pro Tip: Sync your filter replacement with a recurring household task, like paying monthly bills or changing your HVAC filter. Pairing it with an existing habit makes it nearly impossible to forget.
Measuring results and optimizing for healthier air
Once you’ve completed maintenance, it’s important to confirm your efforts are making a difference. Running a purifier without checking whether it’s actually improving air quality is like exercising without ever stepping on a scale. Feedback matters.
Here are three practical ways to measure air quality improvement:
- Check the purifier’s built-in display. Most modern units show a real-time air quality index using color-coded indicators. After maintenance, you should see the reading improve within 15 to 30 minutes.
- Use a portable air quality monitor. Affordable monitors measure PM2.5 (fine particle matter), VOCs (volatile organic compounds), and humidity. Place one near the purifier and one across the room to compare readings.
- Track health and comfort changes. Note whether morning allergy symptoms reduce, whether the home smells fresher, and whether family members sleep better. These are real-world signals that your maintenance workflow is paying off.
| Measurement method | What it tracks | Cost range | Best use |
|---|---|---|---|
| Built-in air quality sensor | PM2.5, general AQI | Included with unit | Daily monitoring |
| Portable air quality monitor | PM2.5, VOCs, humidity | $30 to $150 | Room-by-room checks |
| Symptom tracking journal | Allergy, sleep, comfort | Free | Long-term health trends |
| Professional air test | Full pollutant panel | $100 to $300 | Baseline or annual audit |
Results can fluctuate based on room size, seasonal humidity, and pollution sources inside the home. Cooking, candles, and even new furniture off-gas particles that temporarily spike readings. The EPA’s guidance on CADR recommends matching your purifier’s CADR to at least two-thirds of the room’s square footage for consistent performance. If readings stay high despite maintenance, it may be time to review your air purifier selection tips or explore the types of home purifiers available for larger or more demanding spaces.
Why home air purifier maintenance is more strategic than you think
With results in hand, it’s worth stepping back for a big-picture view of why routine maintenance is a game-changer. Most people treat air purifier maintenance as a chore, something to do when the light turns red. That mindset is costing them more than they realize.
A well-maintained purifier doesn’t just clean air. It runs more efficiently, uses less energy, and lasts years longer than a neglected unit. The filter media stays effective, which means fewer particles recirculate through your HVAC system, reducing dusting frequency and protecting your family during allergy season. The myth that air purifiers are set-and-forget devices is one of the most expensive beliefs a homeowner can hold.
Skip maintenance long enough, and even a premium purifier becomes little more than a noisy fan pushing dirty air around the room. We’ve seen it repeatedly: families investing in high-end units and then wondering why their air quality hasn’t improved. The answer is almost always the filter. Understanding how purifiers help protect your home year-round reinforces why a disciplined maintenance schedule is one of the smartest, lowest-cost health investments you can make.
Take the next step toward healthier home air
Motivated to improve your home’s air with confidence? Here’s where to keep learning and take action.

Start with our detailed air purifier selection guide to make sure your current unit is the right fit for your space. Then bookmark the maintenance checklist so every service session is fast, thorough, and stress-free. If you’re ready to upgrade to a purifier built for long-term performance and easy maintenance, browse Coway Air Care for expert-backed models designed with real families in mind. Better air isn’t complicated — it just takes the right tools and a consistent routine.
Frequently asked questions
How often should I change my air purifier filter?
Most filters should be replaced every 60 to 90 days, but always check the manufacturer’s instructions for your specific model since heavy use can shorten that timeline.
What happens if I forget maintenance or filter changes?
Neglecting maintenance causes your purifier to recirculate dirty air, which leads to poor indoor air quality, increased allergy symptoms, and reduced device lifespan over time.
Does the CADR rating matter for long-term performance?
Yes — matching the CADR to room size improves effectiveness and helps prevent premature filter clogging, which saves money and keeps air quality consistent.
What signs show my air purifier needs attention?
Watch for weak airflow, musty odors, noisy operation, or indicator lights signaling that a filter replacement is overdue.
Recommended
- Air Purifier Cleaning Process for Optimal Performance – Coway Water Purifier
- Step by Step Filter Maintenance for Water and Air Purifiers – Coway Water Purifier
- Air purification checklist: 6 steps for healthier home air – Coway Water Purifier
- Air Filtration Process Explained for Cleaner Indoor Air – Coway Water Purifier
- Forced Air Heating: Maintenance Tips to Avoid RepairsEnhanced Heating and Air Conditioning
- Air Quality and Carpets: Complete Guide for Homes – Yarra Valley Carpet Cleaning