
Uncategorized
Your Safe Drinking Water Workflow for Healthier Homes
May
TL;DR:
- A comprehensive home water safety workflow combines flushing, filtration, boiling, and testing to effectively reduce contamination risks. Consistently following these steps, maintaining records, and performing routine verification ensure safe drinking water and prevent waterborne illnesses. Building habits around these practices promotes long-term health, saves costs, and provides peace of mind for households.
Most families assume their water is fine because it looks clear. That assumption is how waterborne illness gets a foothold. A reliable safe drinking water workflow at home is not just about buying a filter and calling it done. It is a repeatable set of steps covering preparation, treatment, verification, and maintenance that work together to catch what any single method might miss. This guide walks you through exactly that workflow, built for real households and grounded in drinking water safety procedures that actually hold up under pressure.
Table of Contents
- Key takeaways
- Setting up your safe drinking water workflow at home
- Step-by-step execution of the workflow
- Verification practices that actually confirm safety
- Troubleshooting common mistakes in the workflow
- What you gain from a consistent workflow
- My take on making home water safety actually stick
- How Cowayswaterpurifier supports your home water workflow
- FAQ
Key takeaways
| Point | Details |
|---|---|
| Multi-barrier approach works best | Combining filtration, flushing, boiling, and testing catches contaminants that one method alone would miss. |
| Flushing comes first | Always run cold water for several minutes before use after 6+ hours of inactivity to reduce lead exposure. |
| Boiling overrides filtration | During boil water advisories, boil even if you have a filter because microbes can bypass filtration. |
| Test on a schedule and after events | Annual testing for wells plus retesting after flooding or plumbing work is the minimum standard. |
| Records matter | Keeping a log of tests, maintenance, and filter changes turns reactive fixes into a proactive system. |
Setting up your safe drinking water workflow at home
Before you touch a single tap, you need the right supplies and a clear picture of your home’s contamination risks. Walking in without this step means you may spend money on the wrong tools or miss the problem entirely.
Start by gathering four categories of supplies: a water test kit, a filtration system suited to your contaminant profile, a method for disinfection (boiling or UV), and basic maintenance tools like a small wrench and replacement filter cartridges. Understanding common waterborne contaminants in your area tells you which filter type to prioritize.
Here is a quick comparison of the most common home filtration options:
| Filtration type | Best for | Limitations |
|---|---|---|
| Activated carbon | Chlorine, taste, odor, VOCs | Does not remove heavy metals or microbes |
| Reverse osmosis | Lead, nitrates, fluoride, TDS | Wastes water; slow flow rate |
| UV purification | Bacteria, viruses, protozoa | Does not remove chemical contaminants |
| Ceramic filter | Sediment, some bacteria | Not effective against dissolved chemicals |
| Multi-stage system | Broad contaminant range | Higher upfront cost; more maintenance |
Once you know your risk profile, build a simple workflow checklist. Write down your filter type, replacement schedule, flushing frequency, and testing dates. A water safety checklist for your home removes guesswork and makes it easy for any family member to follow the same process.
Key supplies to have on hand:
- NSF-certified water test strips or a lab kit for basic screening
- Replacement filters appropriate to your unit model
- A clean pitcher or container for boiled water storage
- A small brush for aerator cleaning
Pro Tip: Buy an extra set of filter cartridges before you need them. Running a filter past its replacement date is one of the most common and avoidable mistakes in home clean water management.
Step-by-step execution of the workflow
With your supplies in place, here is how the actual water treatment workflow runs in practice. The order matters. Skipping steps or reversing them reduces effectiveness.
-
Flush cold water lines first. After any period of plumbing inactivity longer than six hours, flushing cold water lines for several minutes before use reduces lead exposure significantly. Never use hot water for drinking or cooking during this step, because hot water dissolves lead from pipes faster.
-
Flush building-wide after extended closures. If your home has been vacant or after a water main break, run cold taps throughout the house first, then hot taps. A full-building flush restores chlorine residuals and clears stagnant water where pathogens can multiply.
-
Run water through your filtration system. After flushing, pass your water through your filter before drinking. Match the filter to the contaminant you are targeting. Activated carbon handles taste and chlorine. Reverse osmosis handles dissolved solids and heavy metals. UV handles biological threats.
-
Boil water when advisories are in effect. During a boil water advisory, boil for at least 1 minute, or 3 minutes if you are above 6,500 feet in elevation. This step applies even if you own a quality filter because microbial contamination can bypass most home filtration systems.
-
Store treated water safely. Use a clean, covered container. Do not touch the inside of the container or the lid. Refrigerate boiled water and use it within 24 hours.
-
Clean faucet aerators twice a year. Aerator cleaning twice a year prevents trapped lead particles from re-entering your water after plumbing work or service disruptions.
-
Replace filters on schedule. Check the manufacturer’s recommendation, then stick to it. Mark the date on the filter housing itself so it is visible.
Pro Tip: Sequence your workflow this way every time: flush first, filter second, verify third. This order is not arbitrary. Flushing removes the stagnant water that would otherwise clog or overburden your filter and carry contaminants past it.
Verification practices that actually confirm safety
Installing a filter is not the same as having safe water. Verification through testing and monitoring is equally important because relying solely on filtration without testing risks undetected contamination. A lot of families skip this part and only find out there is a problem after someone gets sick.
Here is what a solid drinking water monitoring system at home looks like:
- Annual testing for private wells: Test for coliform bacteria, nitrates, total dissolved solids (TDS), and pH at minimum. Private wells should be tested annually and retested after any flooding, heavy rain, or plumbing repairs.
- Event-driven testing: Any time your water changes color, smell, or taste, test immediately. These changes are not always visible, which is why routine testing is non-negotiable.
- Know what your results mean: A test result showing coliform bacteria presence means your water is unsafe to drink without treatment. Nitrates above 10 mg/L are dangerous for infants. EPA limits over 90 contaminants, and knowing your local baseline helps you interpret results accurately.
- Use certified labs for serious concerns: Home test strips are good for routine monitoring, but certified labs give you legally defensible results and more detailed data when you suspect a real problem.
The table below shows which tests matter most for each water source type:
| Source type | Priority tests | Trigger for extra testing |
|---|---|---|
| Municipal tap | Lead, chlorine byproducts, pH | Plumbing renovation, water main break |
| Private well | Coliform, nitrates, TDS, pH | Flooding, new nearby construction |
| Stored/collected water | Coliform, turbidity | Any visual change or extended storage |
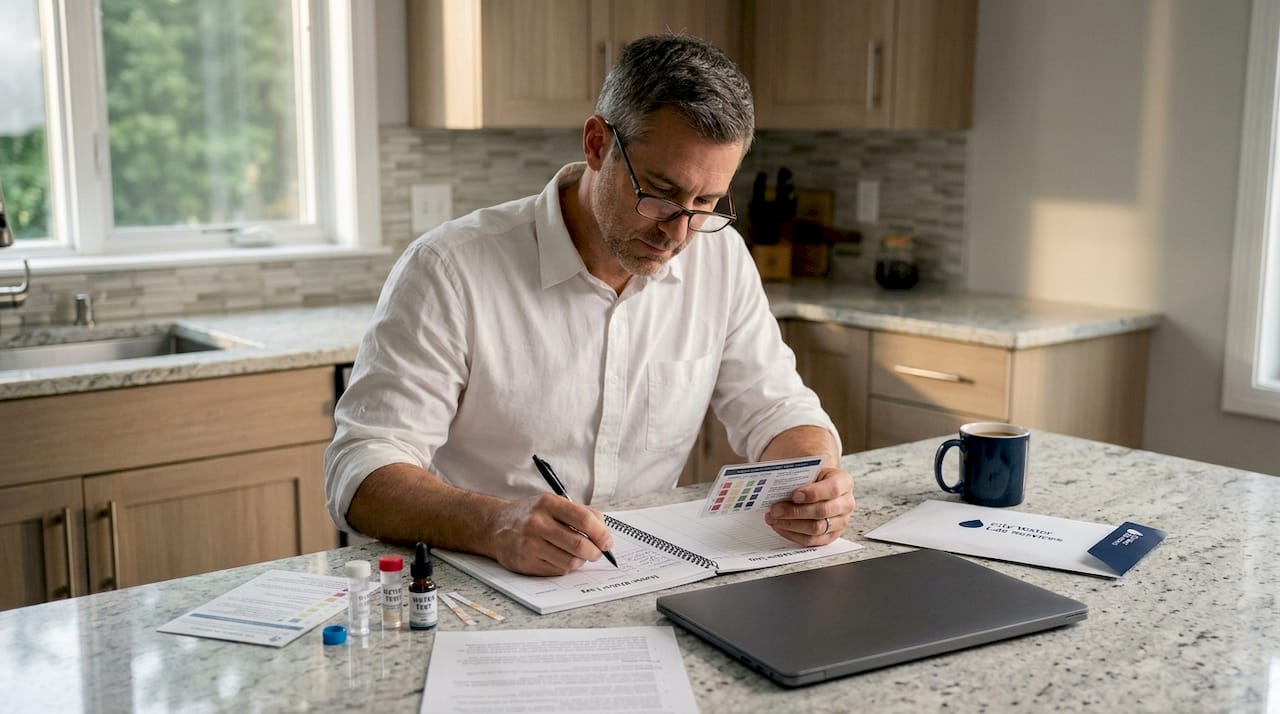
Keep a simple log. Record the test date, results, the lab or kit you used, and any actions you took in response. This log becomes your proof of practice and makes it easier to spot trends in water quality over time.
Troubleshooting common mistakes in the workflow
Even careful families slip up. The mistakes below are the ones that come up again and again in real households, and each one has a straightforward fix.
- Skipping the flush after vacation: Stagnant water sitting in pipes for days concentrates lead and supports bacterial growth. Returning from a trip means flushing before you drink, every time.
- Trusting appearance over data: Water can look, smell, and taste perfectly fine while carrying dangerous levels of lead, nitrates, or bacteria. Appearance is not a safety check.
- Assuming filters handle boil water advisories: They do not. Boil water advisories demand strict adherence to boiling even when home filtration exists because microbial contamination can bypass most consumer-grade filters.
- Neglecting hot water tank temperature: Setting your water heater to 120°F inactivates pathogens like Legionella, which thrive in lukewarm stored water. This is part of the same flushing protocol used after building closures.
- Waiting too long to call a professional: If your test results show persistently high contaminant levels, or if you see signs of pipe corrosion, consult a licensed plumber and your water utility. Changing filters alone will not fix a structural plumbing problem.
You cannot manage what you do not measure. The families that stay safest are the ones that build verification into their routine, not just their emergency response.
Pro Tip: If you are on a private well and notice a change in water quality after a heavy storm, test within 48 hours rather than waiting for your annual test date. Event-driven retesting is one of the highest-value steps in any drinking water safety procedure.
What you gain from a consistent workflow
Following a structured safe water distribution and treatment workflow at home pays off in three ways: health, cost, and peace of mind.
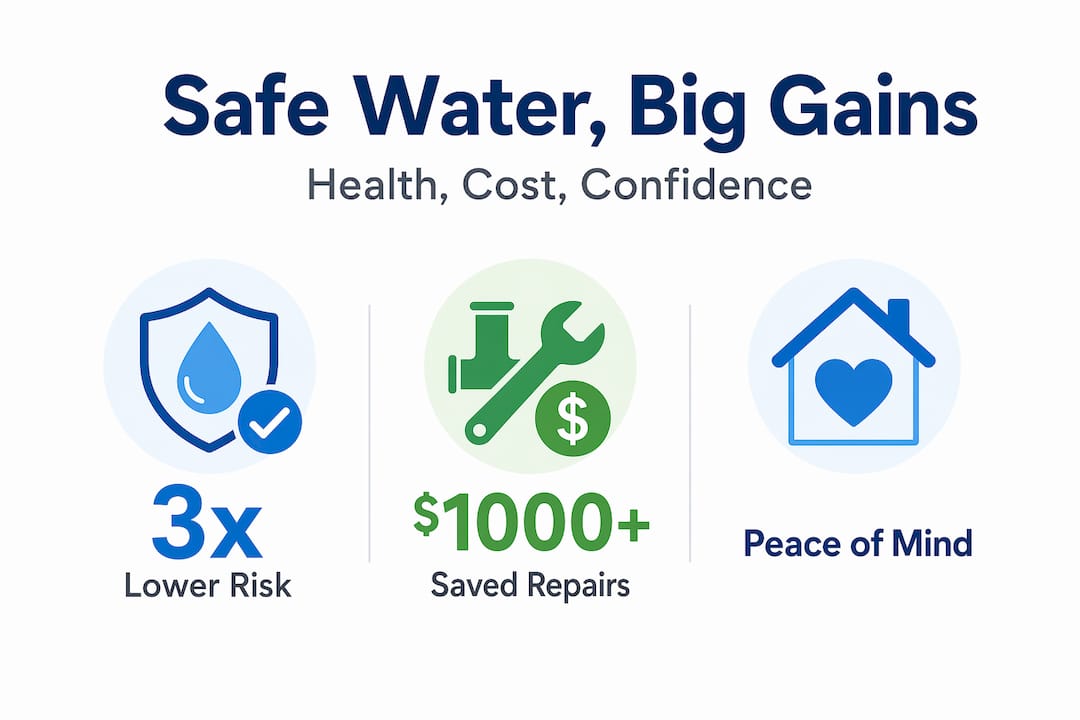
On health, the math is direct. WHO’s multi-barrier approach reduces risk even when one barrier fails, because source protection, treatment, storage, and distribution management each catch different threats. A well-executed workflow means your family is far less exposed to the contaminants most commonly linked to waterborne illness.
On cost, catching a filter failure or lead pipe issue early prevents the kind of emergency that costs thousands to fix. Replacing a filter cartridge costs far less than treating a gastrointestinal illness or replacing corroded plumbing.
Here is what changes when you compare untreated versus well-managed home water:
| Category | No workflow in place | Consistent workflow applied |
|---|---|---|
| Health risk | Higher exposure to bacteria, lead, chemicals | Consistently reduced through multiple barriers |
| Water taste/quality | Variable; often affected by chlorine or sediment | Noticeably improved and consistent |
| Plumbing lifespan | Faster corrosion from unmonitored conditions | Extended through routine maintenance |
| Emergency response | Reactive; often delayed | Proactive; faster and better informed |
| Family confidence | Uncertain about water safety | Grounded in tested, verified results |
Water quality assurance at home does not require a degree in chemistry. It requires a checklist, the right tools, and the discipline to follow the same steps every time.
My take on making home water safety actually stick
I’ve worked through home water safety questions with a lot of families, and the pattern I keep seeing is this: people start strong after a scare, and then drift back to assumptions within a few months. The workflow falls apart not because it is too hard, but because it is not built into daily habits.
What I’ve found actually works is attaching water safety tasks to things you already do. Clean the aerator when you change your smoke alarm battery twice a year. Schedule your well test the same week you file taxes. Set a phone reminder for filter replacement tied to a specific date, not a vague “every few months” that never comes.
I’ve also seen a lot of families over-invest in one barrier while ignoring others. They buy an expensive reverse osmosis system and stop testing. Or they boil during advisories but never flush after the home sits empty for two weeks. A multi-barrier water safety approach is not a suggestion. It is the actual mechanism that makes the whole system reliable.
The uncomfortable truth is that water safety is not a product you buy. It is a practice you maintain. The right filter helps enormously, but only if it sits inside a workflow that includes flushing, testing, and maintenance done consistently. Make it a habit and it stops feeling like effort.
— Soldierboy
How Cowayswaterpurifier supports your home water workflow
Cowayswaterpurifier builds its products with the same multi-barrier thinking this article is built on. Whether you need a countertop unit for daily drinking, an under-sink system that handles heavy metals and sediment, or a UV-capable purifier to cover biological threats, the lineup is designed to slot into a real home workflow rather than replace one.
Start with the water purification process guide to understand which technology fits your contamination profile. If you want a side-by-side comparison of UV options, the UV purifier comparison covers the most relevant models with honest tradeoffs. For households that want a low-profile solution, the under-sink purifier picks include expert-vetted recommendations matched to different home setups. Every Coway unit comes with installation support and a clear maintenance schedule so the workflow you build today stays effective long-term.
FAQ
What is a safe drinking water workflow for home use?
A safe drinking water workflow is a repeatable set of steps including flushing, filtering, boiling when needed, and regular testing that work together to reduce contamination risk in your home. Following a multi-barrier approach catches threats that any single method alone would miss.
How long should I flush water before drinking it?
Flush cold water for several minutes after any period of inactivity longer than six hours before drinking or cooking. This step is particularly important for reducing lead exposure from plumbing, and you should always use cold water rather than hot.
Do I still need to boil water if I have a filter?
Yes. During a boil water advisory, you must boil tap water for at least 1 minute regardless of whether you own a filter, because microbes can bypass most consumer-grade filtration systems. Boiling is the only method confirmed to address all microbial threats under advisory conditions.
How often should I test my home drinking water?
Private well owners should test annually at minimum, plus after flooding, plumbing repairs, or any visible water quality change. Municipal water users should test drinking water periodically, especially after home plumbing renovations or if you live in an older building with lead pipes.
What signs suggest my water quality has changed?
Changes in color, smell, or taste are the most visible signals, but many contaminants like lead and nitrates have no detectable taste or smell. Unexplained gastrointestinal symptoms in your household can also indicate a water quality issue worth investigating with a certified test.
Recommended
- How to Ensure Healthy Drinking Water at Home Easily – Coway Water Purifier
- Essential Guide to Safe Drinking Water for Homeowners – Coway Water Purifier
- Eco-Friendly Water Purification Guide for Healthy Homes – Coway Water Purifier
- 7-Step Home Water Filtration Checklist for Safer Drinking – Coway Water Purifier
