
Uncategorized
Step by Step Water Filter Replacement for Homeowners
Jan
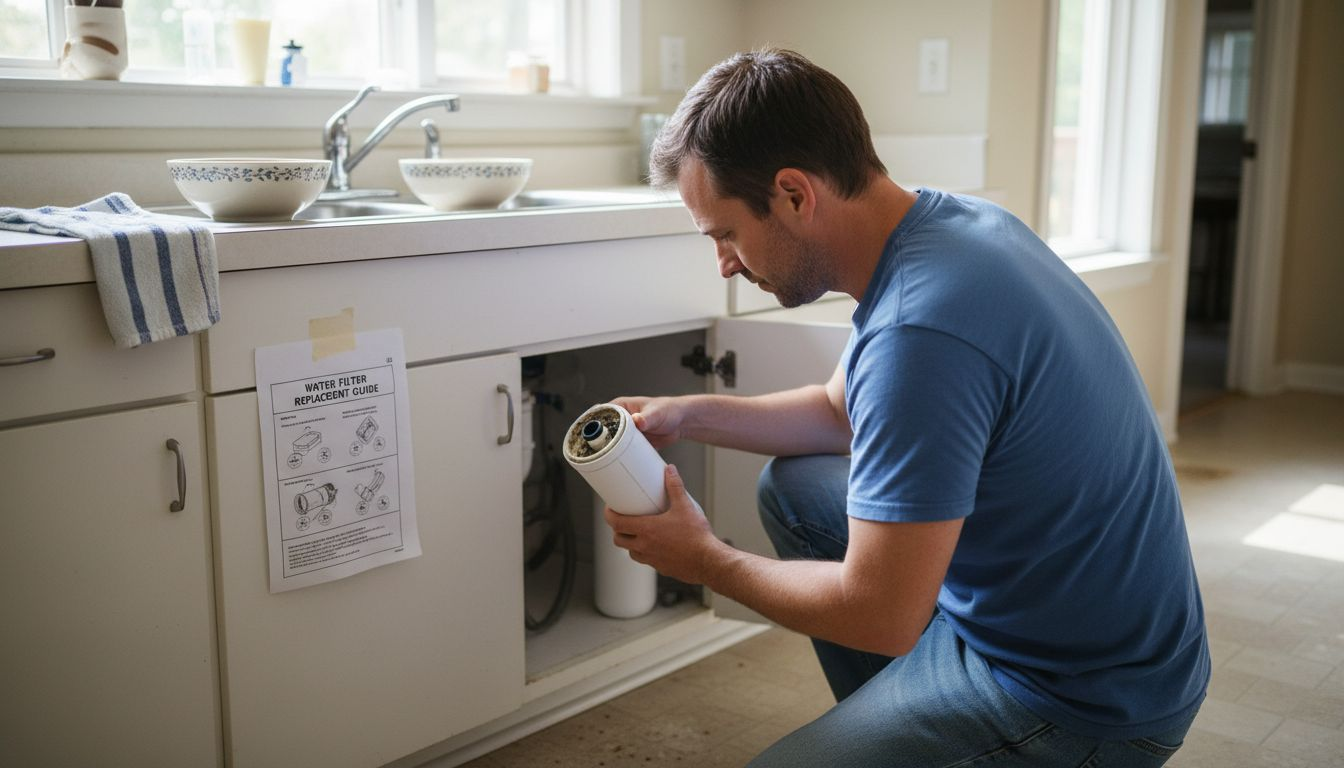
Every family wants fresh, clean water flowing from every tap in their home, but the process of replacing a water filter can raise questions for even the most attentive homeowner. The right tools and NSF-certified replacement components are essential for keeping your drinking water safe and your system running smoothly. With the right approach, you can manage filter changes confidently and help protect your home’s water quality for everyone who depends on it.
Table of Contents
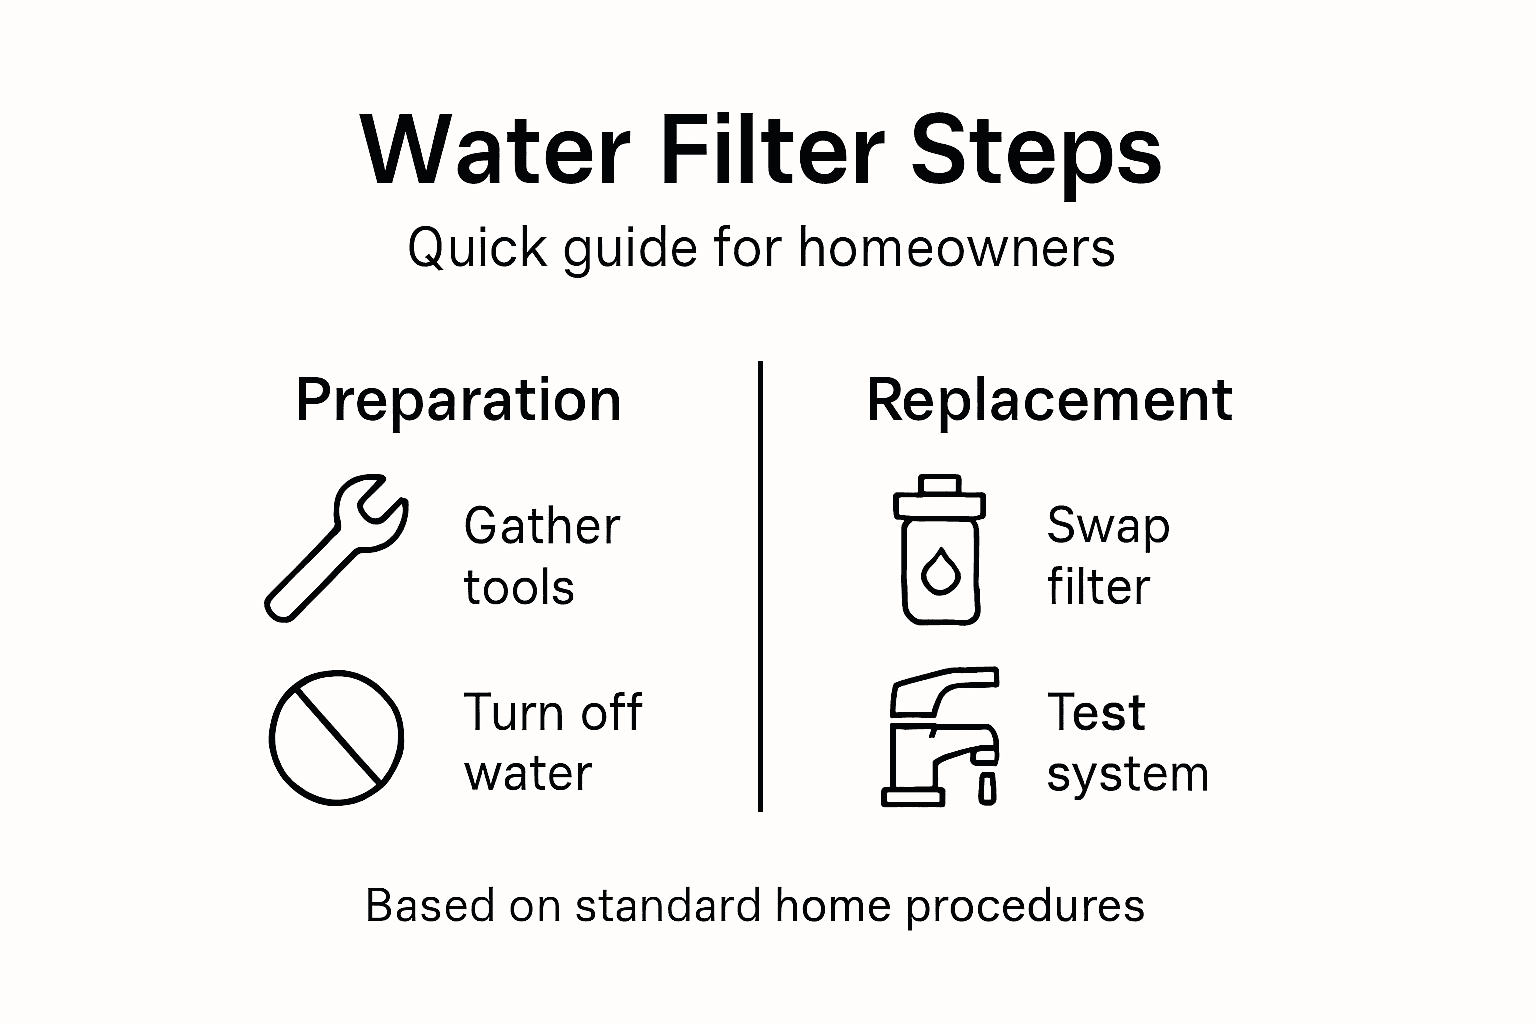
- Step 1: Gather Necessary Tools And Replacement Parts
- Step 2: Turn Off Water Supply And Relieve Pressure
- Step 3: Remove Old Filter From The Purifier Unit
- Step 4: Install New Water Filter Securely
- Step 5: Restore Water Supply And Check For Leaks
- Step 6: Test Water Quality After Replacement
Quick Summary
| Key Point | Explanation |
|---|---|
| 1. Gather necessary tools first | Collect tools like an adjustable wrench and the correct filter before starting the replacement process. |
| 2. Turn off the water supply | Always shut off the main water valve and relieve any pressure before replacing the filter to avoid spills. |
| 3. Follow proper removal techniques | Carefully take out the old filter to prevent damage, noting its orientation for correct installation of the new one. |
| 4. Install the new filter correctly | Ensure the new filter is positioned accurately and securely to avoid leaks and guarantee proper function. |
| 5. Test water quality post-replacement | After installation, test water with kits to confirm the new filter is functioning and removing contaminants effectively. |
Step 1: Gather necessary tools and replacement parts
Before diving into water filter replacement, you will need to collect the right tools and parts. Successful filter maintenance starts with careful preparation and knowing exactly what equipment your specific system requires. NSF guidelines recommend gathering certified replacement components that match your water system’s specifications.
Start by identifying your current water filter model and locating the appropriate replacement cartridge. You will typically need an adjustable wrench, a clean bucket, and the correct filter cartridge. Check your system’s user manual or look for model numbers printed directly on the existing filter housing. Some homeowners overlook this critical step and accidentally purchase incompatible replacement parts. Pay attention to specific dimensions, connection types, and filtration ratings to ensure a perfect match.
Make sure you have all materials ready before beginning the replacement process. This includes protective gloves, a towel for potential water spillage, and the new filter cartridge. Having everything within reach will make the replacement smoother and faster.
Here’s a quick overview of essential tools, their uses, and why they matter for water filter replacement:
| Tool or Item | Primary Purpose | Why It Matters |
|---|---|---|
| Adjustable wrench | Loosen/tighten filter housing | Prevents leaks, ensures proper fit |
| Clean bucket | Collect residual water | Keeps area dry, avoids mess |
| Protective gloves | Protect hands during replacement | Promotes hygiene and safety |
| Correct filter cartridge | Replace old filter | Maintains filtration quality |
| Towel | Absorb spills or drips | Prevents floor/wall water damage |
| User manual or model info | Identify correct parts | Ensures system compatibility |
Pro tip: Take a photo of your current filter setup before disassembly to use as a reference during reinstallation.
Step 2: Turn off water supply and relieve pressure
Before beginning your water filter replacement, you need to safely shut down your water system and reduce internal pressure. Proper water system maintenance requires careful preparation to prevent unexpected water release or potential damage.
Locate your home’s main water shutoff valve typically found near the water meter or where the main water line enters your home. Turn the valve clockwise until it is fully closed. This step prevents water from flowing while you work on the filter. After closing the main valve, open a downstream faucet in your kitchen or bathroom to release any remaining water pressure. This action helps drain the system and reduces the likelihood of unexpected water spraying when you remove the filter.
Confirm that water pressure has been fully relieved by checking that no water flows from the open faucet. Some homes may have additional shutoff valves near specific appliances or water filtration systems, so consult your home’s plumbing diagram if you are unsure about valve locations.
Pro tip: Keep a towel and bucket nearby in case of unexpected water drainage during the filter replacement process.
Step 3: Remove old filter from the purifier unit
Now that you have prepared your workspace and turned off the water supply, it is time to carefully remove the old water filter from your purification system. Water filter removal requires precise handling and attention to detail to prevent potential damage to the unit.
Locate the filter housing within your water purification system. Depending on your specific model, the removal process may vary slightly. Some filters require a twisting motion counterclockwise, while others might have a push button or release mechanism. Gently grasp the filter and rotate or press the release mechanism as indicated by your system’s instructions. Be prepared for a small amount of residual water to drip out when you remove the filter. Position a towel or small container underneath to catch any water and keep your workspace clean.

As you remove the filter, take note of its orientation and positioning. This will help you install the new filter correctly in the subsequent step. Inspect the filter housing for any signs of wear, mineral buildup, or damage while the old filter is removed. If you notice any issues, you may want to clean the housing before inserting the new filter.
Pro tip: Take a quick photo of the old filter’s position before removal to use as a reference when installing the new one.
Step 4: Install new water filter securely
With the old filter removed, you are now ready to install your new water filter carefully and precisely. Certified filter installation requires careful attention to manufacturer specifications to ensure optimal performance and prevent potential leaks.
Begin by examining the new filter and comparing its size and configuration to the old one. Align the filter with the housing, paying close attention to its orientation. Most filters will only fit correctly in one direction. Gently insert the filter, using steady pressure to seat it properly. For twist-lock models, rotate the filter clockwise until you feel it lock into place. Some systems might require you to push and turn simultaneously. Apply firm but moderate pressure to avoid damaging the filter or the housing seals.
After securing the filter, you will want to prepare for the final activation step. This typically involves running water through the system to flush out any loose carbon particles or manufacturing residue. Expect some initial discoloration or cloudiness in the first few minutes of water flow, which is normal and harmless. Position a container underneath to catch this initial water output and prevent any potential mess.
Pro tip: Wear clean gloves during installation to prevent transferring oils or dirt onto the new filter surface.
Step 5: Restore water supply and check for leaks
With the new filter securely installed, you are ready to reestablish your water system’s functionality. Carefully restoring water flow requires systematic leak detection techniques to ensure your home’s safety and prevent potential water damage.
Slowly turn the main water valve counterclockwise to restore water supply. Start with a quarter turn and pause, allowing pressure to equalize gradually. Watch the connections and filter housing closely for any signs of moisture or dripping. Use a clean white paper towel or dry cloth to inspect each connection point. If you notice even a tiny amount of moisture, turn the water off immediately and check that the filter is seated correctly. Tighten connections gently but firmly, being careful not to overtighten and potentially damage the seals.
Once water begins flowing, run the nearest faucet for several minutes. This will help clear any air bubbles from the system and allow you to observe water clarity and flow. Watch for any unusual sounds or changes in water pressure that might indicate an installation issue. Pay special attention to the first few minutes of water flow, as this is when most installation problems become apparent.
Pro tip: Keep a bucket and extra towels nearby during this process in case unexpected water leakage occurs.
Step 6: Test water quality after replacement
After successfully installing your new water filter, verifying its performance becomes crucial for ensuring your household’s water safety. Water quality testing provides essential insights into filter effectiveness and helps confirm your filtration system is working correctly.
Start by collecting water samples from different faucets throughout your home. You can use home testing kits available at hardware stores or send samples to a certified laboratory for comprehensive analysis. These tests typically check for contaminants like lead, bacteria, chlorine, and other potential harmful substances. Pay special attention to water taste, odor, and clarity as initial indicators of filtration performance. Some key parameters to evaluate include pH levels, metal content, and microbiological indicators.
If you are using a home testing kit, follow the manufacturer’s instructions precisely. Most kits include test strips or small vials with specific reagents that change color to indicate different contaminant levels. For more thorough testing, consider hiring a professional water quality testing service that can provide detailed analytical reports. These professionals can offer recommendations if any issues are detected, ensuring your new filter is performing optimally and protecting your household’s water supply.
Compare key water quality test methods for post-replacement assurance:
| Method | Speed of Results | Level of Detail | Best For |
|---|---|---|---|
| Home Test Kit | Minutes to hours | Basic indicators (e.g., pH, chlorine) | Routine, quick checks |
| Certified Lab Testing | Several days to a week | Comprehensive contaminant analysis | Detailed health risk assessment |
| Professional Service | Varies by provider | On-site evaluation and recommendations | Complex systems, troubleshooting |
Pro tip: Keep a record of your water quality test results to track changes and monitor your filter’s long-term performance.
Simplify Your Water Filter Replacement with Trusted Coway Solutions
Replacing your home water filter can feel challenging with all the detailed steps involved like turning off the water supply, handling precise installation, and testing water quality. If you want to avoid the hassle of manual filter replacements and ensure your water is always pure and safe Coway offers advanced water purifiers designed for effortless maintenance and superior filtration. Our products use cutting-edge technology to minimize upkeep while delivering consistently clean and healthy water.

Discover how our range of water purifiers can eliminate your worries about incorrect filter replacement and leaks. Explore our collection at Coway Water Purifier and dive into insights and tips on filter care in the Uncategorized Archives – Coway Water Purifier for guidance. Don’t wait until your next filter change comes with stress. Take control of your home water quality today by choosing reliable Coway solutions designed with your health and convenience in mind.
Frequently Asked Questions
How do I gather the necessary tools for water filter replacement?
Before replacing your water filter, collect essential tools like an adjustable wrench, clean bucket, protective gloves, and the correct filter cartridge. Ensure that you have your system’s user manual or model information handy to avoid purchasing incompatible parts.
What steps should I follow to safely turn off the water supply?
To safely turn off your water supply, locate the main shutoff valve and turn it clockwise until fully closed. Then, open a downstream faucet to relieve any built-up pressure, ensuring a smoother replacement process.
How do I remove the old filter from my water purification system?
Carefully remove the old filter by locating the filter housing and using the appropriate method, such as twisting or pressing a release mechanism. Position a towel or container underneath to catch any residual water that may drip out during removal.
How can I ensure the new water filter is installed correctly?
Install the new water filter by aligning it with the housing and gently inserting it, ensuring it’s in the correct orientation. Secure it by twisting or pressing it into place as per your system’s instructions while checking for a snug fit.
What should I do to check for leaks after replacing the filter?
After restoring the water supply, turn the main valve slowly and observe the filter housing and connections for any signs of leaks. If you notice moisture, turn off the water, recheck the filter installation, and gently tighten any loose connections.
How do I test the water quality after replacing my filter?
To test your water quality after replacing the filter, collect samples from different faucets and use a home testing kit or send samples to a certified laboratory. Analyze the results for contaminants to ensure your filtration system is functioning properly.
Recommended
- Water Filter Replacement Workflow for Safe Drinking Water – Coway Water Purifier
- How to Install Water Filter: Step-by-Step Home Guide – Coway Water Purifier
- Step by Step Water Filter Maintenance for Clean Results – Coway Water Purifier
- Filter Replacement – Why Timely Changes Matter – Coway Water Purifier