
Uncategorized
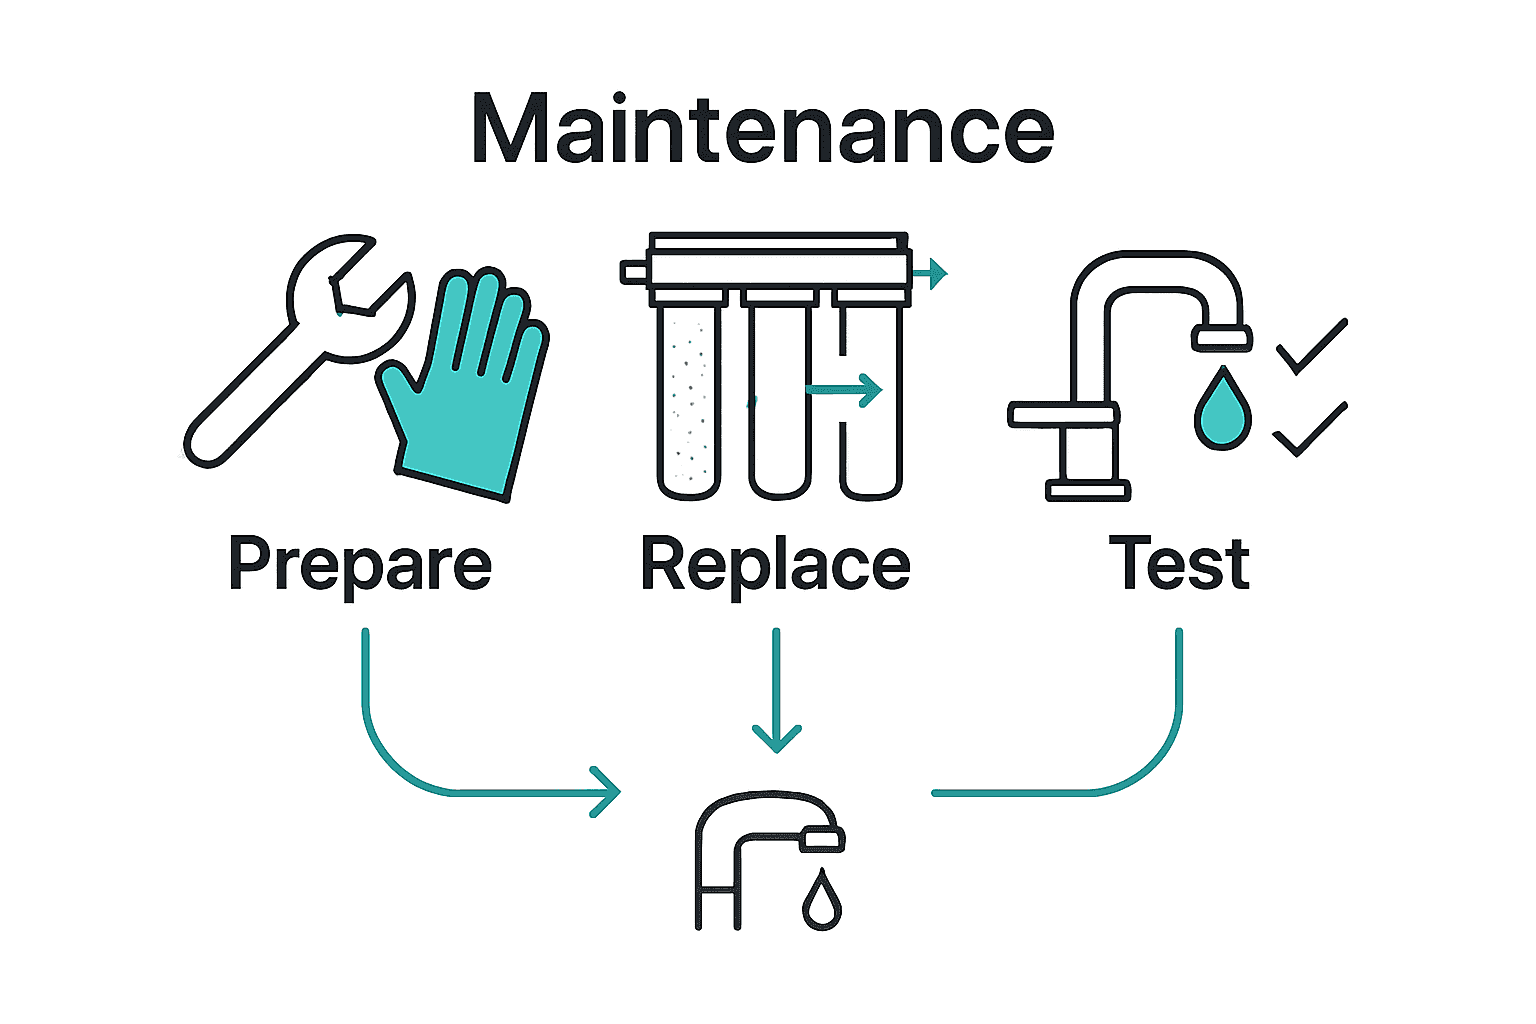
Step by Step Water Filter Maintenance for Clean Results
Nov
Over 60 percent of homeowners report issues with water quality, making maintenance of filtration systems more important than ever. A well-functioning water filter not only protects your health but saves money on replacements and repairs. Whether you are a new homeowner or a seasoned pro, understanding the right steps and tools can make filter maintenance simple and stress-free. This guide breaks down each part of the process so you can keep your water clean and your system performing at its best.
Table of Contents
- Step 1: Gather Essential Tools And Replacement Parts
- Step 2: Shut Off Water Supply And Relieve Pressure
- Step 3: Remove Used Filters From The System
- Step 4: Clean Filter Housings And Components
- Step 5: Install New Filters And Reassemble Unit
- Step 6: Test System Functionality For Optimal Performance
Quick Summary
| Key Point | Explanation |
|---|---|
| 1. Gather all necessary tools | Ensure you have an adjustable wrench, towels, replacement filters, and other tools for maintenance. This preparation leads to an efficient process. |
| 2. Shut off water supply safely | Locate the master shut-off valve and turn it off. Open a nearby faucet to relieve pressure before starting maintenance to avoid water damage. |
| 3. Remove old filters carefully | Examine the filter housing and remove old filters with gloves to prevent contamination. Seal used filters in a plastic bag for disposal. |
| 4. Clean filter housings thoroughly | Use a mild cleaning solution to remove debris and inspect seals for wear. Proper cleaning maintains water quality and system performance. |
| 5. Test the system after maintenance | After reinstalling filters, turn the water supply back on and check for leaks. Run water to clear air bubbles and confirm the system operates correctly. |
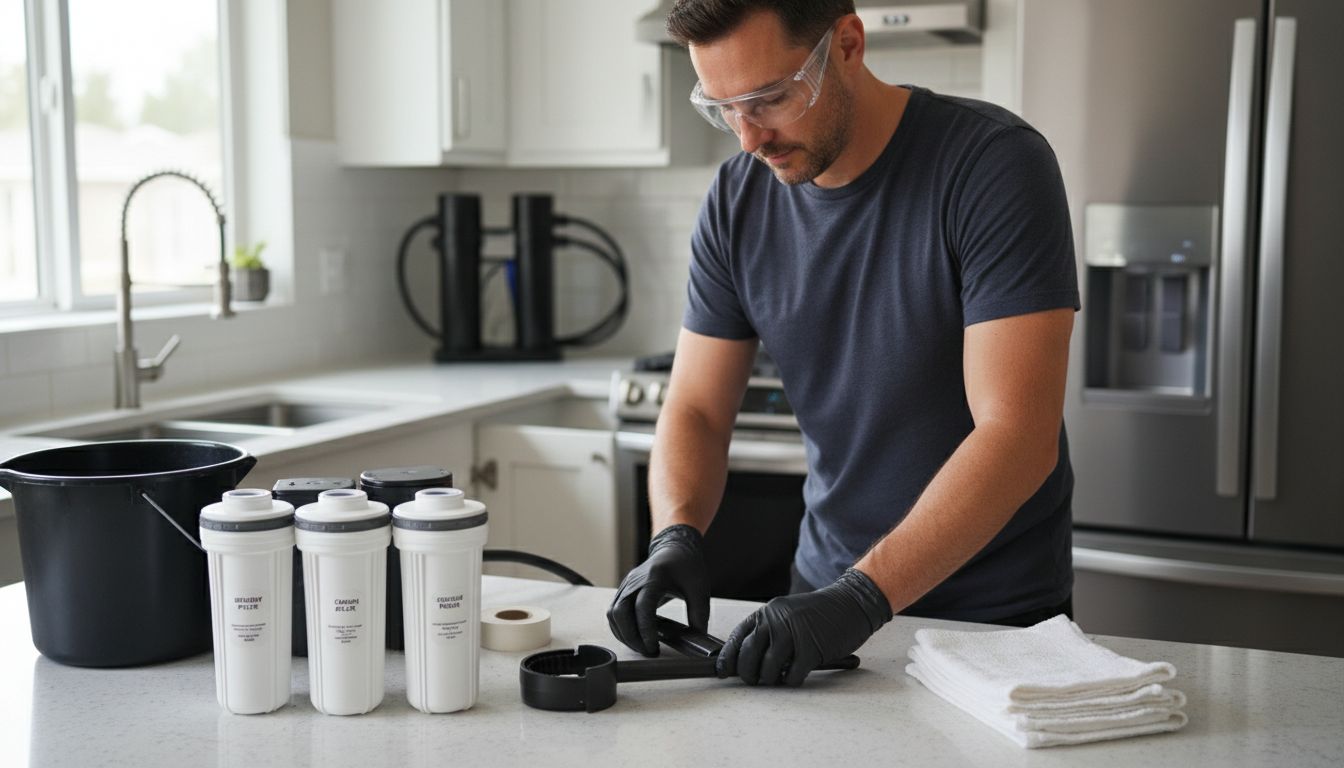
Step 1: Gather Essential Tools and Replacement Parts
Preparing for water filter maintenance requires assembling the right tools and parts. This step ensures you can complete your maintenance smoothly and efficiently.
According to EPA, regular system checks are crucial for optimal water fixture performance. For your water filter maintenance, you will need several key items. Start by collecting a comprehensive toolkit that includes:
- Adjustable wrench
- Clean microfiber towels
- Replacement filter cartridges
- Plumber’s tape
- Protective gloves
- Safety glasses
- Clean bucket or container
Microfilter recommends having specific replacement parts on hand before beginning maintenance. This typically means purchasing manufacturer recommended filter membranes and cartridges specific to your water filtration system model.
Pro Tip: Always check your filter’s user manual for exact replacement part specifications to avoid purchasing incompatible components.
Before proceeding to the next maintenance step, confirm you have all necessary tools and parts laid out and ready. This preparation prevents interruptions and ensures a smooth maintenance process.
Step 2: Shut Off Water Supply and Relieve Pressure
Before beginning your water filter maintenance, you will need to safely shut off the water supply and release system pressure. This critical step prevents potential water damage and ensures a safe working environment.
North Penn Water Authority recommends locating your home’s master water shut-off valve and practicing operating it annually. For most homes, this valve is located near the water meter typically found in basements, crawl spaces, or near the exterior foundation. Turn the valve clockwise completely until it stops to fully shut off water flow.
To relieve internal system pressure, open a nearby cold water faucet after closing the main valve. This action allows trapped air and remaining water to drain out safely. NYC Department of Environmental Protection suggests keeping the faucet open during your entire maintenance process to prevent unexpected water surges.
Safety Warning: Never force a stuck valve. If you cannot turn the valve smoothly, contact a professional plumber to assist you.
With water supply stopped and pressure released, you are now prepared to move forward with your water filter maintenance process safely and confidently.
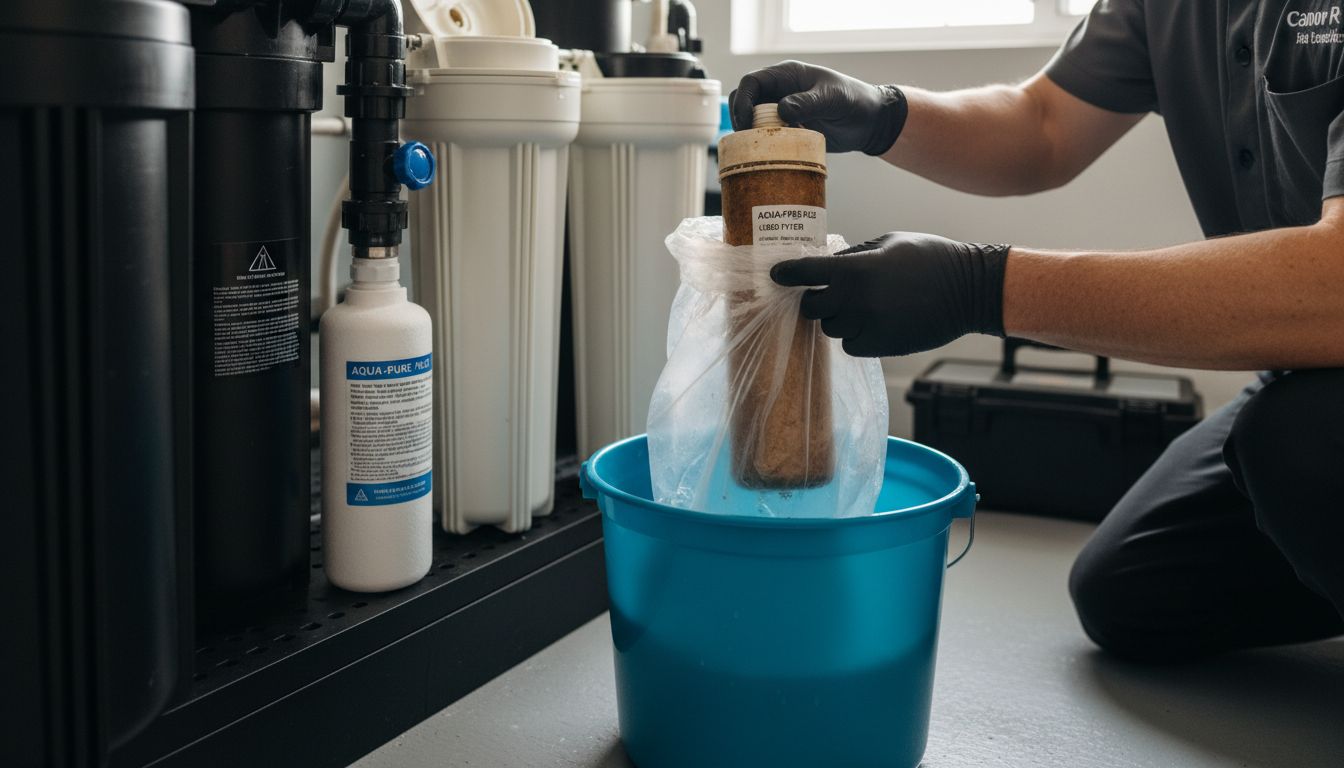
Step 3: Remove Used Filters from the System
Removing used water filters requires careful attention to prevent potential contamination and ensure proper system maintenance. This step involves systematically extracting old filter components without causing damage to your water filtration system.
Begin by carefully examining the filter housing and identifying the specific removal mechanism. Most water filter systems use a twist or quarter turn release method. Wear protective gloves to maintain hygiene and prevent direct contact with potentially contaminated filter surfaces. Slowly rotate the filter counterclockwise until it becomes loose enough to remove completely.
As you extract the used filter, place it directly into a sealed plastic bag to prevent any trapped sediment or contaminants from spreading. Inspect the filter housing interior for any signs of mineral buildup calcium deposits or potential damage.
 Clean the housing gently with a soft cloth if necessary before installing the new replacement filter.
Pro Tip: Always handle used filters with care and dispose of them according to local waste management guidelines.
With the used filters removed carefully and safely the next step involves preparing your new filter components for installation and ensuring a clean proper fit within your water filtration system.
Step 4: Clean Filter Housings and Components
Cleaning your water filter housings and components is a critical maintenance step that ensures optimal water quality and system performance. This process removes accumulated sediment mineral deposits and potential bacterial growth that can compromise your filtration system.
Florida Department of Environmental Protection recommends thoroughly sanitizing water system components to maintain high water quality standards. Start by preparing a mild cleaning solution using warm water and a small amount of unscented dish soap. Use a soft microfiber cloth or non abrasive sponge to gently clean the interior of the filter housing removing any visible debris or buildup.
Rinse the housing meticulously with clean water to eliminate all soap residue. Pay special attention to rubber seals and O rings ensuring they remain intact and free from debris. Inspect these components for any signs of wear or damage that might compromise the system’s integrity. Allow all parts to air dry completely on a clean towel before reassembling.
Pro Tip: Never use harsh chemicals or bleach when cleaning filter housings as these can damage sensitive components and potentially contaminate your water system.
The Essential Guide to Regular Filter Replacement provides additional insights into maintaining your water filtration system. With the housings cleaned and components prepared the next stage of your maintenance process awaits.
Step 5: Install New Filters and Reassemble Unit
Installing new filters and reassembling your water filtration system is a precise process that requires careful attention to detail. This critical step ensures your water filter operates at peak performance and delivers clean safe drinking water.
Begin by carefully examining the new filter cartridges and comparing them to the manufacturer specifications. Ensure each replacement filter matches your specific water filtration system model. Apply a thin layer of food grade silicone lubricant to the O rings and seals to create a watertight connection and prevent potential leaks.
Slowly insert each new filter into its designated housing making sure they are seated correctly and aligned precisely. Gently rotate the filters clockwise until they lock into position. Double check that all connections are secure and no components are loose or misaligned. Pay special attention to the orientation marks ensuring each filter is installed in the correct direction.
Pro Tip: Always handle new filters with clean hands and avoid touching the filtration surface to prevent contamination.
Water Filter Replacement Workflow for Safe Drinking Water offers additional guidance for completing your maintenance process. With your new filters installed you are now ready to restore water flow and test your system.
Step 6: Test System Functionality for Optimal Performance
Testing your water filtration system after maintenance is crucial to ensure everything operates correctly and delivers clean safe drinking water. This final step validates all your careful work and confirms the system is functioning at its best.
St Helen Church Norwell recommends a comprehensive testing approach to verify system performance. Start by slowly turning on the main water supply valve and checking for any immediate leaks around filter housings and connections. Run water through each tap connected to the filtration system for several minutes to flush out any air bubbles and flush new filter components.
Carefully observe the water flow rate and check for any unusual sounds or irregularities. Collect a small glass of water and examine its clarity transparency and taste. Compare this to your previous water quality to confirm improvements. Check all connection points for potential moisture or slow drips that might indicate incomplete sealing.
Pro Tip: Keep a clean white cloth nearby to quickly detect any sediment or discoloration during initial system testing.
7 Essential Steps for Your Purifier Maintenance Checklist provides additional insights for maintaining your water filtration system. With testing complete you can now confidently enjoy clean filtered water.
Keep Your Water Filter Performing at Its Best with Coway Solutions
Maintaining a clean and efficient water filter can feel challenging with all the steps involved from shutting off the water supply to installing new filters with precision. If you want to avoid the hassles of complicated maintenance and ensure your home always has fresh pure water, our advanced Coway water purification systems are designed to simplify your routine. They combine cutting-edge filtration technology with easy-to-manage replacement parts and detailed support so you can enjoy pristine water quality with less worry.
Explore how our products embody the very principles discussed in the maintenance guide—from reliable filter replacement to consistent system testing. Visit our Uncategorized Archives – Coway Water Purifier to learn more about features that protect your health and elevate your home wellness.

Take the first step toward effortless water care today. Discover the full range of models at Coway Water Purifier and get yours with free delivery and professional installation. Your clean water journey starts now with solutions made for your peace of mind and lasting performance.
Frequently Asked Questions
How often should I perform water filter maintenance?
Perform water filter maintenance every 6 to 12 months, depending on your water quality and usage. Create a schedule to check and replace filters regularly to ensure optimal performance and clean water.
What tools do I need for water filter maintenance?
Gather essential tools such as an adjustable wrench, microfiber towels, replacement filter cartridges, plumber’s tape, gloves, and safety glasses. Assemble these tools before starting maintenance to ensure a smooth process.
How do I safely shut off the water supply before maintenance?
Locate your home’s master water shut-off valve and turn it clockwise until it stops to shut off the water supply. Opening a nearby cold water faucet afterward helps relieve pressure in the system.
What is the proper way to dispose of used water filters?
Wrap used water filters in a sealed plastic bag to contain any contaminants and dispose of them according to local waste management guidelines. This helps prevent environmental contamination and protects public health.
How can I test my water filtration system after maintenance?
After completing the maintenance, slowly turn on the main water supply and check for leaks around filter housings. Run water for a few minutes and inspect the water clarity and taste to ensure your system is functioning properly.
What should I do if my water filter shows signs of damage during maintenance?
If you notice any damage to components, replace them before reassembling the system to avoid potential leaks or contamination. Always ensure that all parts of your water filtration system are in good condition for optimal performance.
Recommended
- 7 Essential Steps for Your Purifier Maintenance Checklist – Coway Water Purifier
- Water Filter Replacement Workflow for Safe Drinking Water – Coway Water Purifier
- How to Install Water Filter: Step-by-Step Home Guide – Coway Water Purifier
- Essential Water Purification Maintenance Schedule for 2025 – Coway Water Purifier
- Diesel Particulate Filter Maintenance for Professionals – My WordPress
- Βήμα βήμα εγκατάσταση πλυντηρίου πιάτων στο σπίτι εύκολα – ΞΥΔΑΣ ΕΥΡΑΓΟΡΑ – Οι καλύτεροι στην αγορά. Μεγάλες προσφορές στις Ηλεκτρικές Συσκευές