
Uncategorized
Step by Step Air Purifier Setup for Cleaner Home Air
Jun
TL;DR:
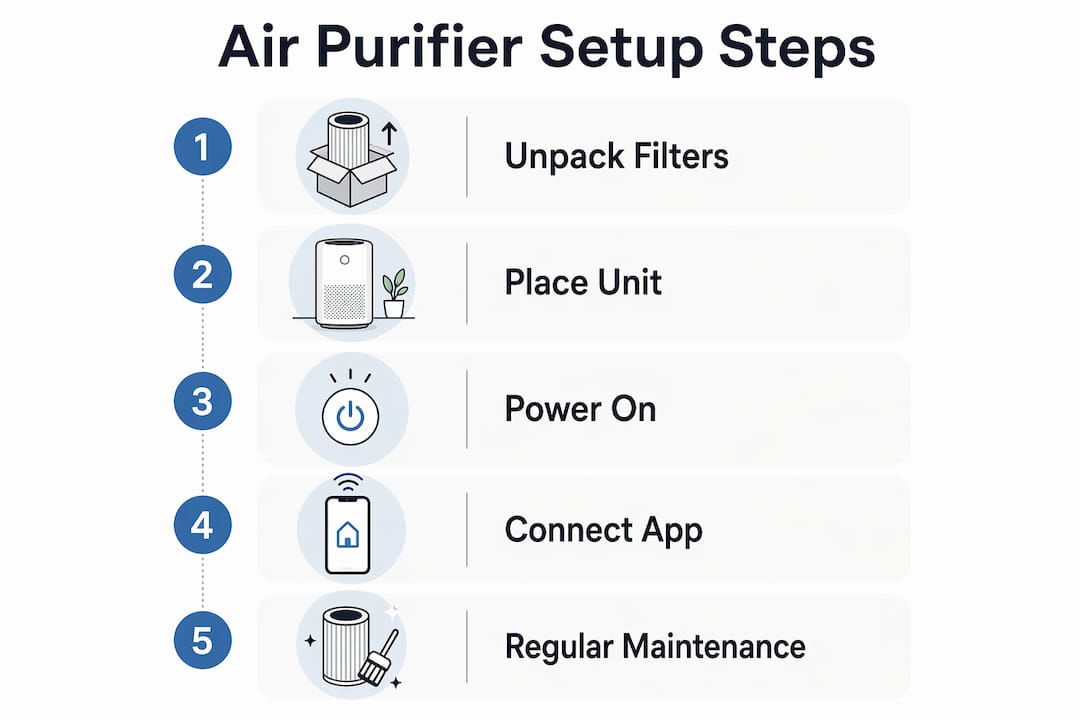
- Proper setup involves removing filter packaging and placing the unit near breathing zones for effective air cleaning. Regularly check indicator lights to maintain filters, as they give accurate signals based on actual usage. Correct installation and maintenance ensure your air purifier performs optimally and improves indoor air quality.
Step by step air purifier setup is the process of preparing, installing, and maintaining your unit to deliver consistent, measurable indoor air quality benefits. Done correctly, it takes under 30 minutes for a portable unit and protects your household from dust, pollen, pet dander, and volatile organic compounds. Done wrong, it leaves your purifier running at a fraction of its potential. This guide covers both portable and whole-home installations, with real-world pitfalls, placement strategy, and filter maintenance built in from the start. Models like the Philips AC1711/90, Homedics AF-10, and Dyson TP07 each illustrate where most homeowners go wrong.
What do you need before starting your air purifier setup?
Preparation is the step most homeowners skip, and it causes the most problems. Before you plug anything in, gather what you need and read the quick-start section of your manual.
For a portable unit, collect these items:
- The air purifier unit and all box contents
- Any included filters (HEPA, carbon, or pre-filter)
- Your smartphone if the unit uses a companion app like Dyson Link
- A clean, flat surface near a power outlet
- Scissors to remove any zip ties or packaging straps
For a whole-home unit tied to your HVAC system, also gather:
- A stud finder and measuring tape
- Aviation snips or a duct-cutting tool
- Foil tape or duct mastic for sealing
- A voltage tester and wire connectors
- The installation template included with the unit
Safety comes first for both setups. Unplug portable units before handling filters. For whole-home units, shut off power at the breaker panel before touching any ductwork or wiring. Never assume the circuit is off without testing it with a voltage tester.
Pro Tip: Download your unit’s companion app before unboxing. Dyson Link, for example, requires an account setup that takes several minutes. Getting it done early means you won’t lose momentum mid-installation.
If your unit uses a CADR rating to match room size, check that number against your room’s square footage before you start. Placing an undersized unit in a large room wastes energy and delivers poor results.
How do you install a portable air purifier step by step?
Portable air purifier installation is the most common setup homeowners and renters face. Follow these steps in order.
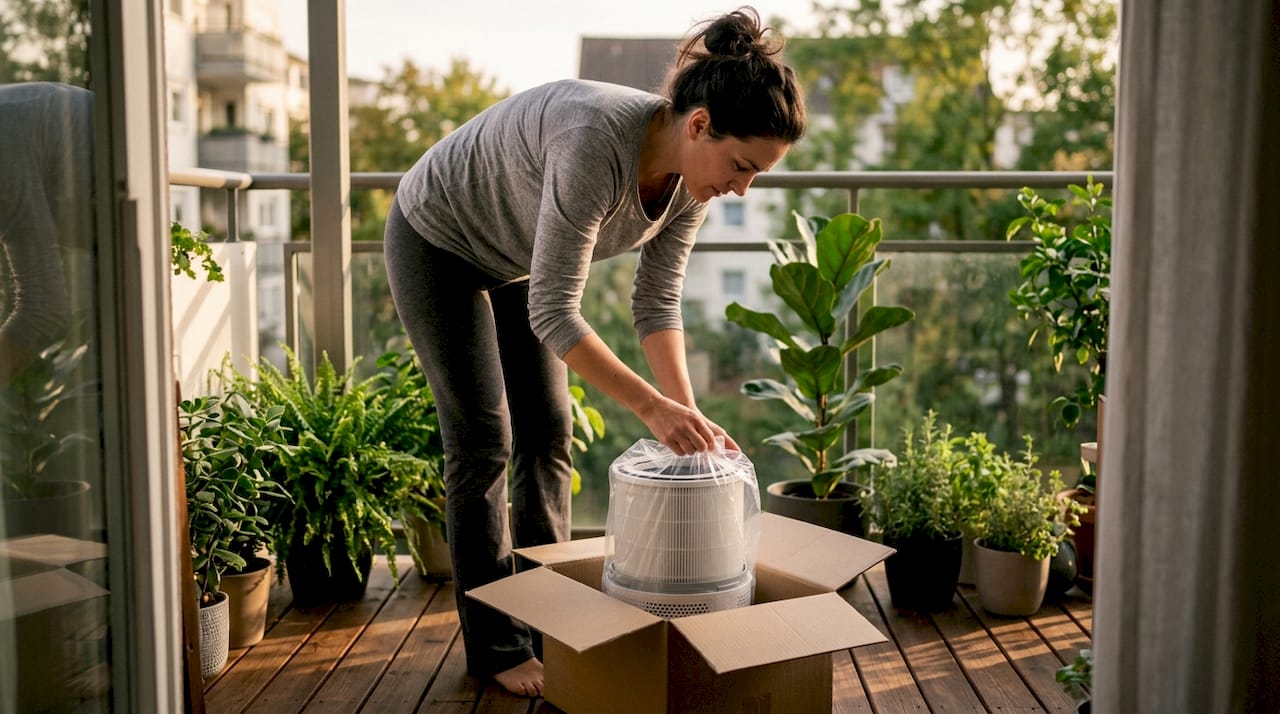
- Remove the unit from the box. Set all accessories aside and check the parts list against what you received.
- Open the filter compartment. Most units have a rear panel or bottom cover that releases with a button or latch.
- Remove all packaging from the filters. The Philips AC1711/90 manual specifically requires pulling back the cover, removing the filter, stripping all plastic and packaging from it, and then reinstalling before connecting power. Skipping this step is the single most common setup failure.
- Install the HEPA filter first, then the carbon filter if your unit uses both. Align the tabs or arrows on the filter with the housing guides.
- Seat the filter firmly. The Homedics AF-10 will not operate unless the True HEPA filter and grill are properly installed and firmly seated. If the unit won’t start, an improperly seated filter is the first thing to check.
- Close the filter compartment and confirm it clicks or locks into place.
- Place the unit in the right location. More on this below.
- Plug in the unit and power it on. Run it on the highest fan speed for the first 15–20 minutes to clear any manufacturing residue from the filters.
- Connect to the companion app if applicable. The Dyson TP07 requires downloading the Dyson Link app and following on-screen prompts to complete setup and enable remote control.
Where should you place a portable air purifier?
Placement determines how well your unit actually cleans the air you breathe. Research from Linea confirms that placing a purifier near where people breathe and near pollutant sources creates a localized cleaning zone that outperforms center-of-room placement. Put the unit near your bed, your desk, or the area where cooking odors or pet dander originate.
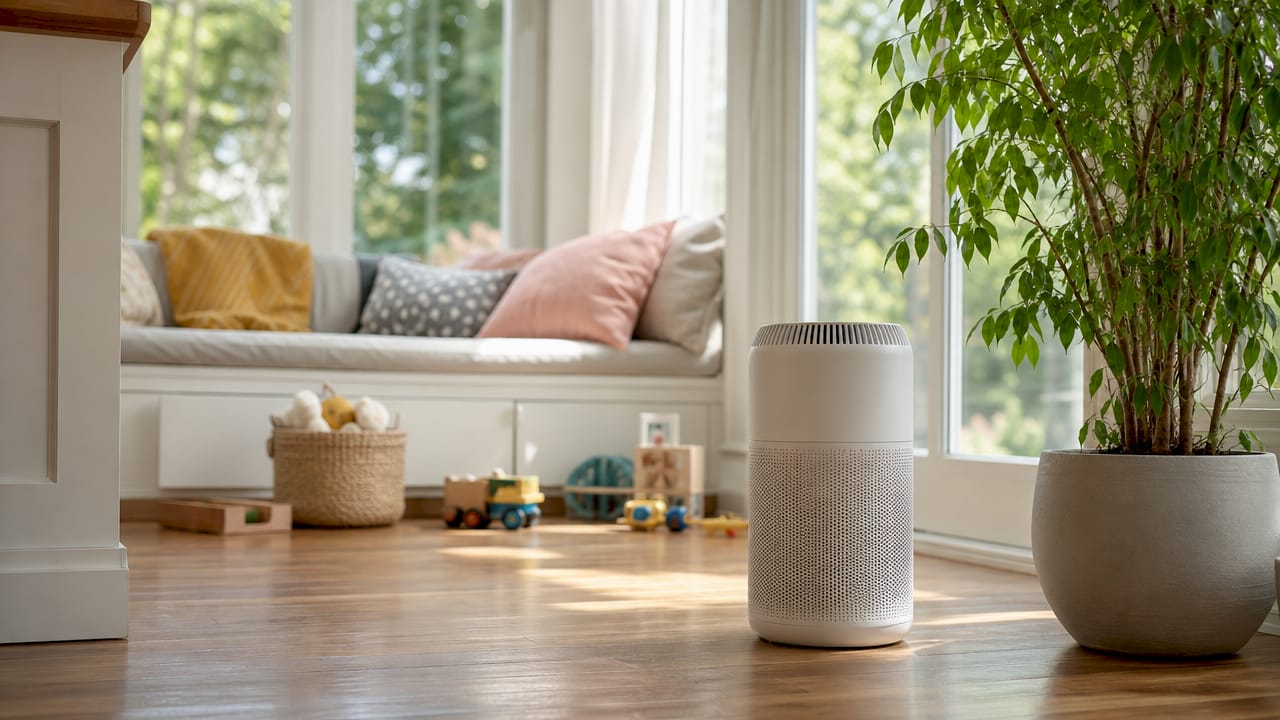
Keep at least 12 inches of clearance on all sides so air can circulate freely. Never push the unit into a corner or against a wall. Avoid placing it near open windows, which constantly introduce unfiltered air and force the unit to work harder.
Pro Tip: For renters, a portable unit near the bedroom door pulls air from the hallway before it reaches your breathing zone. This works especially well in apartments where cooking smells travel from a shared kitchen.
How do you install a whole-home air purifier step by step?
Whole-home air purifier installation connects directly to your HVAC return air duct. The process is more involved than a portable setup, but the steps are straightforward if you work carefully.
- Shut off power at the breaker panel. Confirm the HVAC circuit is dead with a voltage tester before touching any ductwork.
- Locate the installation point on the return air duct. This is typically a straight section of duct near the air handler, away from bends or joints.
- Use the template included with the unit to mark the cutout on the duct. Double-check measurements before cutting.
- Cut the duct opening with aviation snips. Wear gloves. Sheet metal edges are sharp.
- Mount the purifier housing into the opening and secure it with the provided screws or brackets.
- Seal all edges with foil tape or duct mastic. HVACDatabase.com stresses that airtight sealing at every duct edge is non-negotiable for effective whole-home filtration. Any gap allows unfiltered air to bypass the unit entirely.
- Wire the power supply to your HVAC transformer or a dedicated outlet, following the unit’s wiring diagram exactly.
- Restore power and test the unit. Run the HVAC fan and confirm the purifier activates. Check for air leaks around the housing by holding your hand near the sealed edges.
When to call a professional: If you are not comfortable cutting ductwork or handling low-voltage wiring, hire an HVAC technician. The installation itself is not complex, but mistakes in sealing or wiring reduce performance and can void your warranty.
For a broader look at selecting the right model before you commit to a whole-home system, Cowayswaterpurifier has a detailed 2026 guide covering room size, filter types, and health-specific needs.
What are the key maintenance steps after setup?
Maintenance is where most homeowners lose the gains they made during installation. A well-set-up unit running dirty filters delivers worse air quality than a mediocre unit with fresh ones.
Filter indicator lights are your most reliable maintenance signal. The Homedics AR-35 activates its Clean Filter indicator after approximately 480 hours of operation. That is the unit telling you it needs attention based on actual runtime, not a calendar date. Units used daily may need cleaning more often.
Follow these steps for filter maintenance:
- Pre-filters and washable filters: Remove and vacuum loose debris first. Wash with cool water if the manual permits. Let the filter dry completely before reinstalling. A damp filter reduces airflow and can grow mold.
- True HEPA filters: Vacuum gently with a brush attachment. Most True HEPA filters are not washable. Replace them on the schedule in your manual.
- Carbon filters: These cannot be cleaned effectively. Replace them when the indicator signals or when odors return despite the unit running.
- After any maintenance, reset the filter indicator. The Homedics AR-35 reset logic requires a specific button press after cleaning. Skipping the reset means the indicator will not accurately track the next maintenance cycle.
Pro Tip: Set a phone reminder for the first filter check at 30 days after setup. By then you will know how fast your specific environment loads the pre-filter, and you can set a realistic ongoing schedule.
| Maintenance task | Frequency | Notes |
|---|---|---|
| Pre-filter vacuuming | Every 2–4 weeks | More often in high-dust homes |
| Washable filter rinse | Every 4–6 weeks | Dry fully before reinstalling |
| True HEPA replacement | Per indicator or manual | Not washable in most units |
| Carbon filter replacement | Per indicator or when odors return | Cannot be cleaned |
| Indicator light reset | After every cleaning | Required for accurate tracking |
For a full step-by-step cleaning guide covering every filter type, Cowayswaterpurifier has a dedicated 2026 resource that walks through the process in detail.
Key Takeaways
Proper air purifier setup requires removing all filter packaging, placing the unit near breathing zones, and using built-in indicator lights rather than fixed schedules to guide filter maintenance.
| Point | Details |
|---|---|
| Remove all filter packaging | Leaving plastic seals on filters prevents operation and is the most common setup mistake. |
| Seat filters firmly | Units like the Homedics AF-10 will not run unless filters and grills are locked in place. |
| Place near breathing zones | Positioning near occupants and pollutant sources creates a more effective clean air zone than center-of-room placement. |
| Seal whole-home units completely | Every duct gap allows unfiltered air to bypass the purifier, defeating the installation. |
| Trust indicator lights over calendars | Hour-based indicators like those on the Homedics AR-35 give more accurate maintenance signals than fixed schedules. |
What I’ve learned from watching homeowners set up air purifiers wrong
The manual is not the problem. Most people just don’t read it before they start. I’ve seen brand-new units run for weeks with the plastic packaging still wrapped around the HEPA filter. The unit sounds like it’s working. The fan spins. But leaving packaging on filters blocks airflow almost entirely. The air quality never improves, and the homeowner blames the product.
The placement mistake is just as common and just as costly. People put the purifier in the geometric center of the room because it feels logical. But portable purifiers work by creating a localized clean air zone, not by instantly scrubbing an entire room. Put it where you sleep or where you spend the most time. That single change delivers more improvement than upgrading to a more expensive model.
For renters, the whole-home option is usually off the table. That’s fine. A well-placed portable unit in the bedroom, running overnight, does more for your actual health than a whole-home system set up carelessly. Focus on the room where you spend the most hours, not the room with the worst air.
The maintenance piece is where long-term performance lives. I trust indicator lights over schedules because they account for real usage. A unit running 24 hours a day in a home with two dogs loads its pre-filter far faster than one running four hours a day in a studio apartment. The Homedics AR-35 hour-based indicator reflects that reality. A fixed monthly reminder does not.
— Soldierboy
Cowayswaterpurifier’s resources for your air purifier setup
Getting the setup right is only the first step toward cleaner home air. Cowayswaterpurifier has built a library of guides specifically for homeowners and renters who want practical, health-focused advice without wading through technical manuals.

The air purifier selection guide helps you match the right model to your room size and health goals before you buy. The air purification checklist walks through six concrete steps for healthier home air, from initial setup through ongoing filter care. Both resources are free and written for real homeowners, not HVAC professionals. If you are also thinking about your drinking water, Cowayswaterpurifier’s Coway Air Care product range covers units designed for home wellness from the ground up.
FAQ
What is the first step in setting up an air purifier?
Remove all plastic packaging and protective seals from the filters before installing them. The Philips AC1711/90 manual makes this explicit: packaging must come off before the unit is powered on.
Why won’t my air purifier turn on after setup?
The most common cause is an improperly seated filter or grill. The Homedics AF-10 will not operate unless both the True HEPA filter and the outer grill are firmly locked in place.
Where is the best place to put a portable air purifier?
Place it near where you breathe and near the room’s primary pollutant source, not in the center of the room. Research confirms this creates a more effective localized clean air zone.
How often should I clean or replace air purifier filters?
Use the unit’s built-in filter indicator rather than a fixed calendar schedule. The Homedics AR-35 activates its clean filter light after approximately 480 hours of use, which reflects actual runtime rather than elapsed days.
Do I need a professional to install a whole-home air purifier?
Not always, but you should hire an HVAC technician if you are uncomfortable cutting ductwork or handling low-voltage wiring. Improper sealing or wiring reduces performance and can void the warranty.
Recommended
- Step by Step Filter Maintenance for Water and Air Purifiers – Coway Water Purifier
- Step by Step Air Purifier Cleaning: 2026 Guide – Coway Water Purifier
- Air purifier maintenance workflow for cleaner home air – Coway Water Purifier
- Air purification checklist: 6 steps for healthier home air – Coway Water Purifier