
Uncategorized
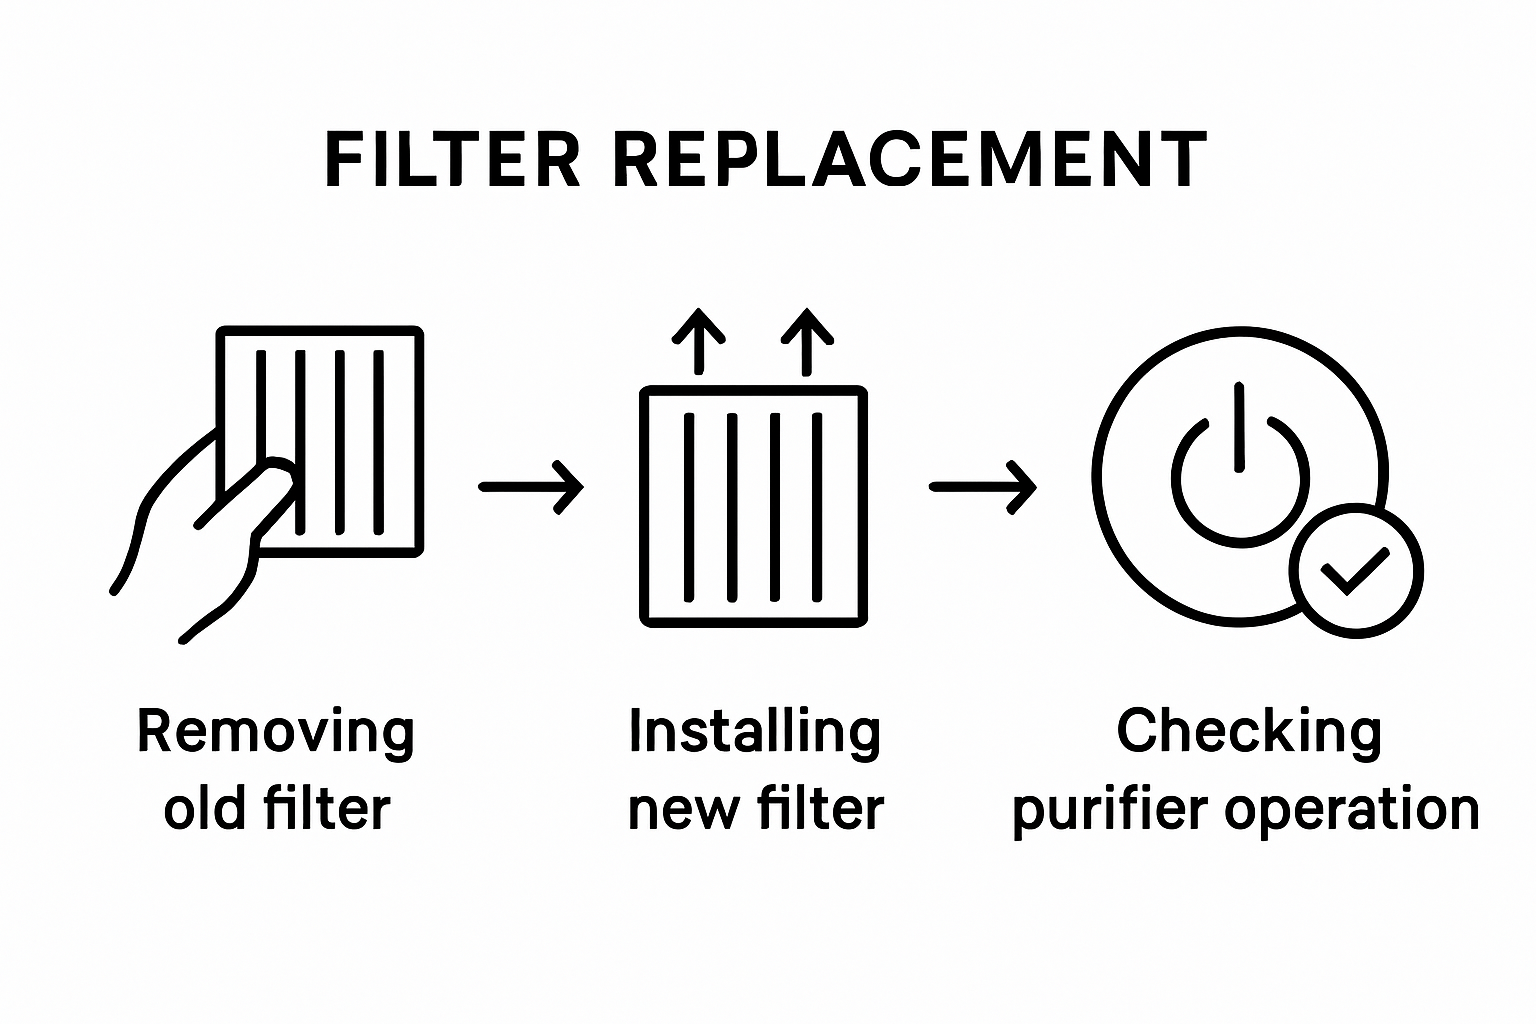
Step by Step Filter Maintenance for Water and Air Purifiers
Dec
Over 60 percent of American households now rely on purifiers to improve indoor air and water quality every day. Keeping these systems running smoothly can prevent health problems and reduce costly repairs. With clear, easy steps and practical tips, you will learn how to maintain your purifiers confidently and keep your home comfortable and safe year round.
Table of Contents
- Step 1: Gather Required Tools And Replacement Filters
- Step 2: Turn Off And Prepare The Purifier Safely
- Step 3: Remove Old Filters From The Unit
- Step 4: Install New Filters Correctly
- Step 5: Test The Purifier And Check Filter Status
Quick Summary
| Key Insight | Explanation |
|---|---|
| 1. Verify Filter Compatibility | Always check that replacement filters match the required type and specifications for your specific purifier model. |
| 2. Safety First: Unplug Device | Completely unplug the purifier before maintenance to eliminate electrical hazards during the process. |
| 3. Document Filter Configuration | Take a photo or sketch of the current filter arrangement to ensure correct reinstallation of new filters. |
| 4. Align Filters Properly | Follow airflow direction arrows on filters to guarantee optimal performance and air quality after installation. |
| 5. Reset Filter Indicator | After replacing filters, reset the filter life indicator to reflect the new filter status accurately. |
Step 1: Gather Required Tools and Replacement Filters
Successfully maintaining your water and air purifiers begins with proper preparation. This step involves collecting all necessary tools and replacement components before starting the maintenance process.
First, you will want to carefully verify the specific filter types required for your purifier model. Different air purification systems have unique filter replacement requirements, so consulting your device manual is crucial. Most maintenance procedures require a few standard tools: a clean workspace, a soft cloth, protective gloves, and potentially a screwdriver depending on your specific model.
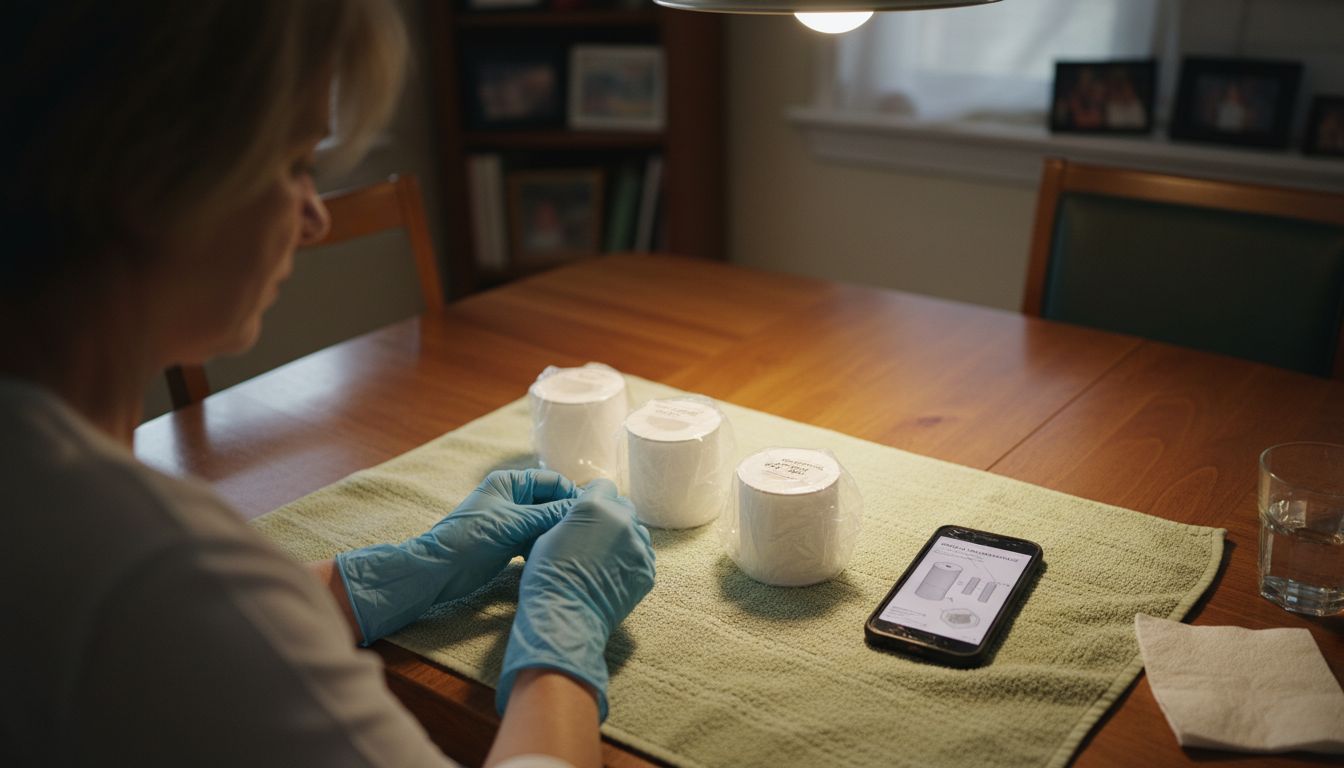
Check your replacement filters to confirm they match your current purifier exactly. This means verifying dimensions, filter type (HEPA, carbon, pre-filter), and compatibility with your specific device brand. Store these replacement filters in a clean, dry area near your maintenance workspace to ensure they remain pristine until installation. Some air and water purifiers have clip-in designs that do not require additional tools, while others might need careful unscrewing and precise component handling.
Here’s a summary comparing common filter types used in purifiers:
| Filter Type | Typical Use | Key Benefits |
|---|---|---|
| HEPA | Air purifiers | Traps fine dust and pollen |
| Carbon | Air and water purifiers | Removes odors and chemicals |
| Pre-filter | Air purifiers | Captures large debris, prolongs HEPA life |
| Sediment | Water purifiers | Filters sand and rust particles |
Pro tip: Always inspect your replacement filters before beginning maintenance to confirm they are undamaged and exactly match your purifier model’s specifications.
Step 2: Turn Off and Prepare the Purifier Safely
Preparing your water or air purifier for maintenance requires careful attention to safety and proper procedure. This step focuses on creating a secure environment for filter replacement and system inspection.
Before beginning any maintenance, you must completely unplug the device to prevent electrical hazards. Locate the power cord and remove it from the electrical outlet, ensuring no residual electrical current can potentially cause injury during your maintenance process. If your purifier is hardwired, locate the circuit breaker and switch it off to guarantee complete power disconnection.
Create a clean, organized workspace near the purifier with sufficient room to maneuver. Spread a clean towel or drop cloth underneath the device to catch any dust or debris that might fall during maintenance. Gather your protective equipment like gloves and safety glasses to protect yourself from potential filter dust or contaminants. Ensure good lighting and a stable surface where you can safely place the purifier components during the maintenance process.
Pro tip: Always photograph or sketch the current filter configuration before removal to help you correctly reinstall components during reassembly.
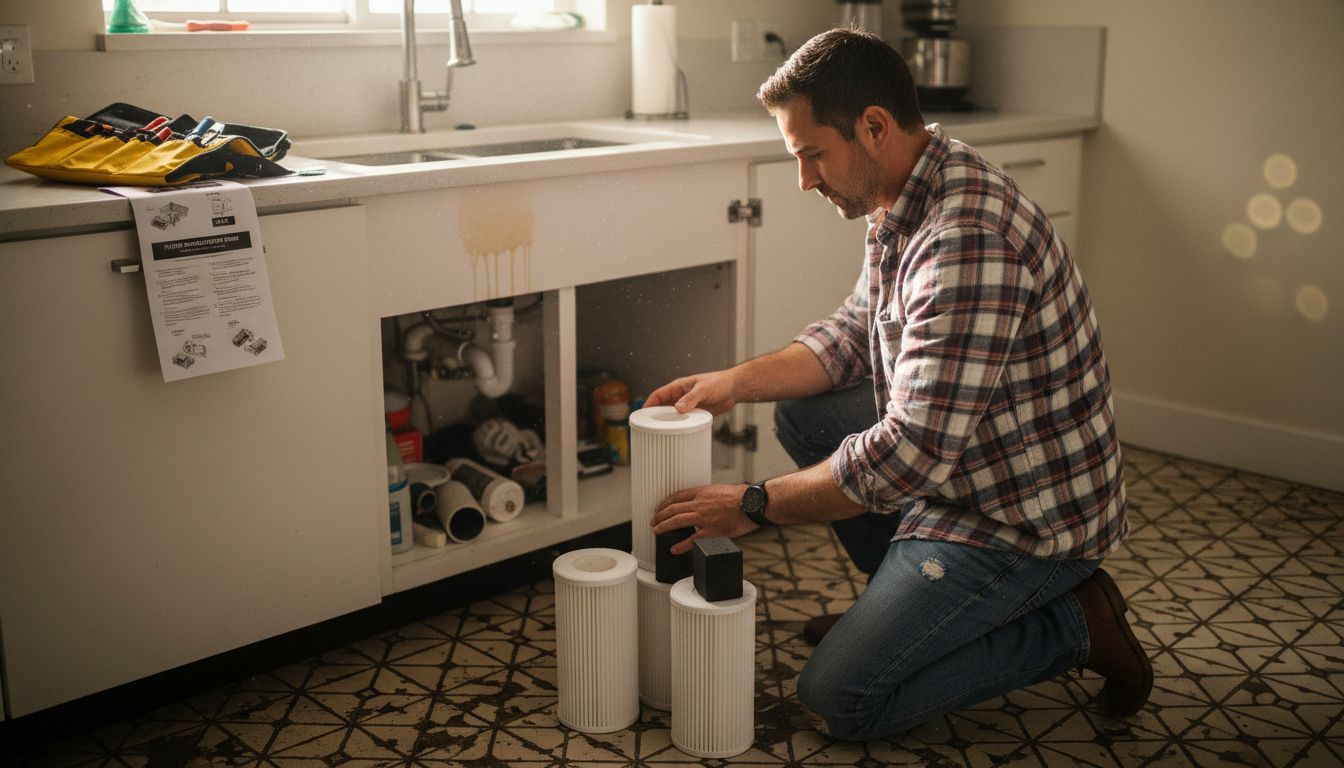
Step 3: Remove Old Filters from the Unit
Removing old filters is a critical step in maintaining your water or air purifier’s performance and ensuring clean, healthy air circulation. This process requires careful handling and attention to detail to prevent damage to your device.
To remove the old filter, you will first need to unlatch the fan enclosure and carefully extract the filter housing. Most modern purifiers have a simple clip or latch mechanism that allows easy access. Some models feature a front cover that can be unclipped without tools, revealing the pre-filters positioned in front of the primary HEPA filter. Wear protective gloves to prevent direct contact with accumulated dust and potential allergens trapped in the old filter.
Carefully inspect the filter compartment as you remove the old filters, checking for any signs of wear, damage, or excessive dirt buildup. Different purifier models have unique removal mechanisms some filters slide out smoothly while others might require a slight wiggling motion to release. If you encounter resistance, consult your device manual to ensure you are not forcing the filter and potentially causing damage. Gently dispose of the old filter in a sealed plastic bag to minimize dust dispersion.
Pro tip: Take a quick photo of the filter configuration before removal to serve as a reference when installing the new filters and ensure you replace them in the correct orientation.
Step 4: Install New Filters Correctly
Installing new filters is a precise process that directly impacts your purifier’s performance and air quality. This step requires careful attention to detail and gentle handling to ensure optimal functionality.
When installing new filters, pay close attention to the airflow direction indicators. Most filters have an arrow indicating the correct orientation, which must align with the airflow direction inside your purifier. Carefully examine the filter before insertion and verify that the arrow points in the correct direction. Modern air purifiers typically feature a clip in mechanism that allows for tool free installation of HEPA filters positioned behind the pre filter.
Start by gently positioning the new filter into the filter housing, ensuring it sits flat and secure without any gaps or misalignment. Apply even pressure to clip the filter into place, being careful not to force or bend the filter material. Check that the filter fits snugly and does not wobble or shift when lightly touched. Some purifiers have multiple filter layers, so confirm you are installing each filter in the correct sequence and orientation as shown in your device manual.
Pro tip: Before completely closing the purifier, do a quick visual inspection to confirm the new filter is seated correctly and all attachment points are properly engaged.
Step 5: Test the Purifier and Check Filter Status
Testing your purifier after filter replacement is crucial to ensure everything functions correctly and your device is ready to provide clean, healthy air. This final step confirms that your maintenance process was successful and the system is operating at peak performance.
After changing filters, locate the Filter Life or Filter Reset Button on your device’s control panel. Press and hold this button for approximately 10 seconds to reset the filter life indicator. Most purifiers will require you to press the control panel button for five seconds or longer to reset the filter status indicator. Watch the display carefully to confirm the filter life resets to 100%, signaling a successful replacement.
Plug the purifier back in and turn it on, listening for any unusual sounds and observing its initial operation. Check that airflow feels consistent and that the display shows normal operating parameters. If your device has multiple speed settings, test each one to ensure smooth performance. Pay attention to any warning lights or unusual behavior that might indicate an installation issue.
This table highlights best practices for filter installation and testing:
| Step | Important Action | Result |
|---|---|---|
| Align arrows | Position to match airflow direction | Ensures proper operation |
| Visual check | Inspect filter seating | Prevents leaks or gaps |
| Reset indicator | Hold reset button 5-10 seconds | Updates filter life status |
| Test speeds | Run device at each setting | Confirms correct installation |
Pro tip: Keep your device manual nearby during testing in case you need to reference specific reset or troubleshooting instructions for your exact model.
Keep Your Home Air and Water Pure with Expert Care and Trusted Solutions
Maintaining your water and air purifiers is essential for ensuring safe, healthy living environments. This article highlights common challenges such as correct filter installation, safely handling contaminants, and verifying device functionality after replacement. If you want to avoid the hassle of complex maintenance routines or worry about selecting the right filters, Coway offers scientifically designed purification products that simplify your home wellness needs. Our advanced filters and intuitive systems reduce the guesswork so you can enjoy clean air and water effortlessly.

Explore wide-ranging solutions at Coway Water Purifier and discover products built with advanced filtration technology and user-friendly features. Whether you want to upgrade or replace your purifier, visit our Uncategorized Archives – Coway Water Purifier for expert advice and product options. Take control of your home environment today and get yours with free delivery and installation. Start improving your air and water quality now by visiting Coway Water Purifier.
Frequently Asked Questions
What tools do I need for filter maintenance on water and air purifiers?
To perform filter maintenance, gather essential tools including a clean workspace, soft cloth, protective gloves, and a screwdriver if needed. Ensure you have the correct replacement filters that match your purifier model before starting the maintenance process.
How do I ensure I am using the correct filters for my purifier?
Verify the specific filter types required for your air or water purifier by consulting the device manual. Check the dimensions, filter type, and compatibility before proceeding to purchase or install new filters.
What is the proper way to turn off my purifier before maintenance?
Unplug your water or air purifier from the electrical outlet to ensure complete power disconnection. If the device is hardwired, shut off the circuit breaker to prevent electrical hazards during the maintenance process.
How can I properly remove old filters from my purifier?
Carefully unlatch the fan enclosure and extract the filter housing with gentle handling. Wear protective gloves to avoid direct contact with allergens and place the old filter in a sealed plastic bag for disposal.
What should I check after installing new filters in my purifier?
After installing new filters, visually inspect that they are seated correctly and aligned with the airflow direction indicators. Plug in the purifier, reset the filter life indicator, and test the device at all speed settings to ensure optimal performance.
How often should I perform filter maintenance on my purifiers?
Aim to check and replace filters every 30-60 days, or sooner if you notice a decrease in air or water quality. Keeping a maintenance schedule helps ensure your purifier operates effectively and prolongs the life of the filters.
Recommended
- 7 Essential Steps for Your Purifier Maintenance Checklist – Coway Water Purifier
- Step by Step Water Filter Maintenance for Clean Results – Coway Water Purifier
- Understanding the Role of Maintenance in Purifiers – Coway Water Purifier
- The Essential Guide to Regular Filter Replacement – Coway Water Purifier
- Diesel Particulate Filter Maintenance for Professionals – My WordPress