
Uncategorized
How to Install Water Filter: Step-by-Step Home Guide
Nov
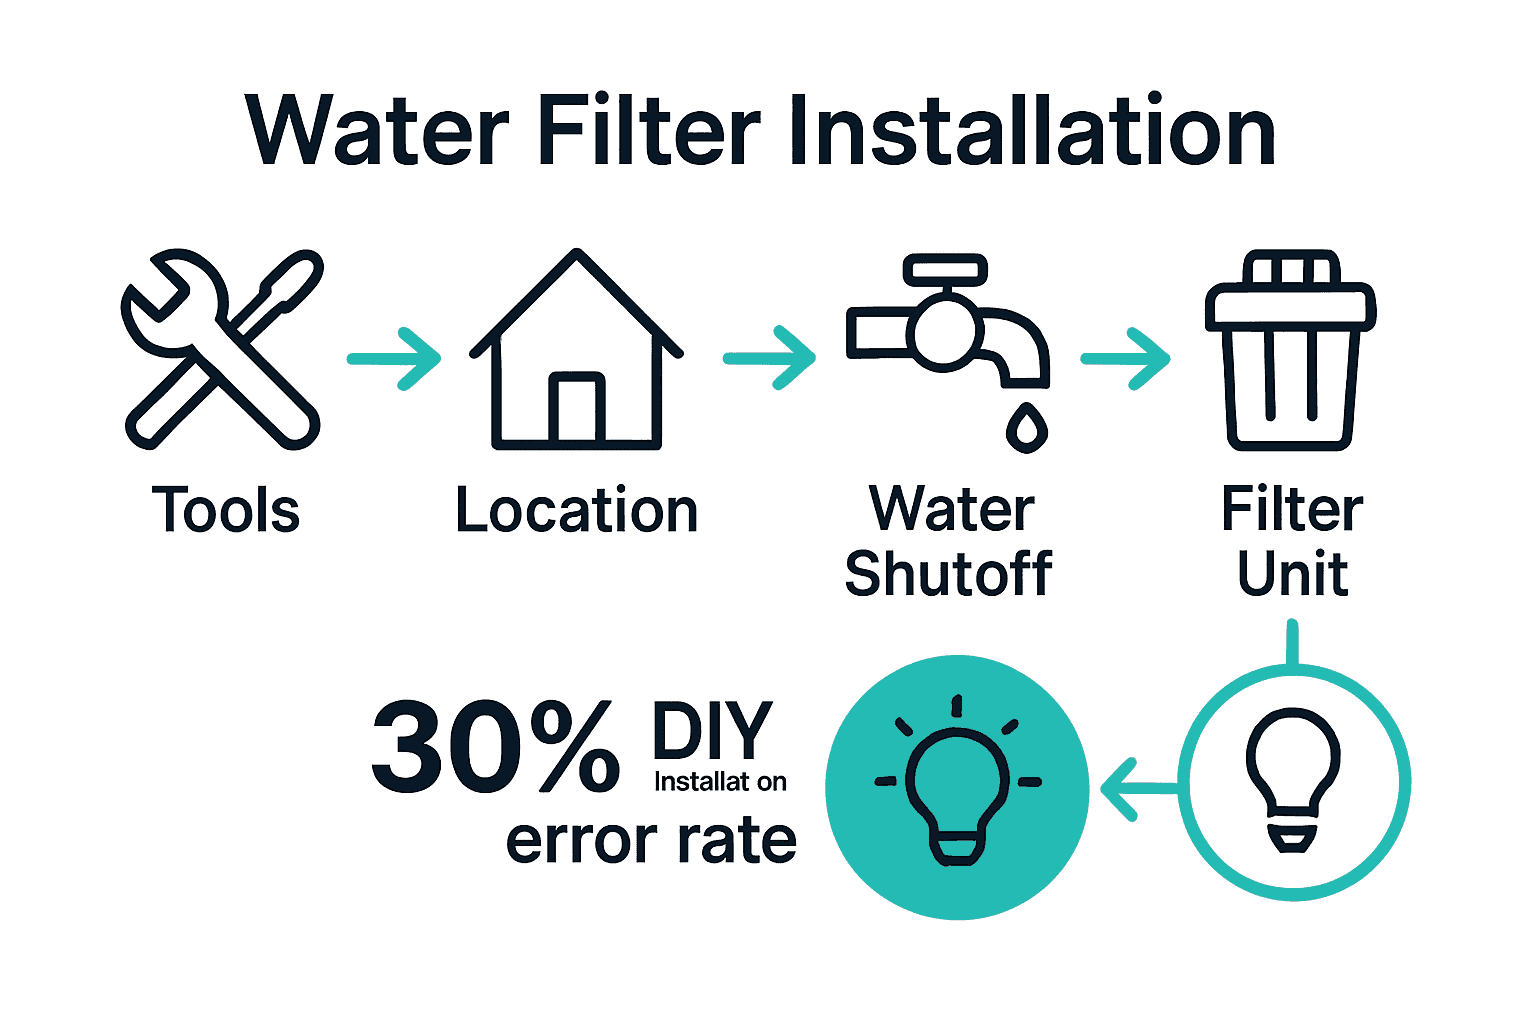
Clean drinking water is a top priority for any household, yet incorrect installation causes problems for over 30 percent of DIY water filter users. Setting up a water filter yourself comes with a unique set of challenges, from gathering the right tools to making sure connections are leak free. Taking the right steps early on not only protects your health but also saves you time and money by avoiding common mistakes when installing your own water filtration system.
Table of Contents
- Step 1: Gather Required Tools And Materials
- Step 2: Choose And Prepare Installation Location
- Step 3: Disconnect Water Supply Safely
- Step 4: Install The Water Filter Unit
- Step 5: Test For Leaks And Confirm Operation
Quick Summary
| Key Point | Explanation |
|---|---|
| 1. Gather all necessary tools first | Collect adjustable wrenches, pliers, screwdrivers, and Teflon tape before starting your installation for efficiency. |
| 2. Choose an accessible installation location | Select a spot that allows easy maintenance and fits your filter, ensuring enough space for ventilation and clearance. |
| 3. Safely disconnect the water supply | Always turn off the main water valve and release pressure, preventing any leaks during the installation process. |
| 4. Install the filter unit securely | Carefully align and tighten the filter connections without over-tightening, ensuring a proper and leak-free fit. |
| 5. Test for leaks and confirm operation | Run water through the filter to check for leaks and ensure consistent water pressure, addressing any issues immediately. |
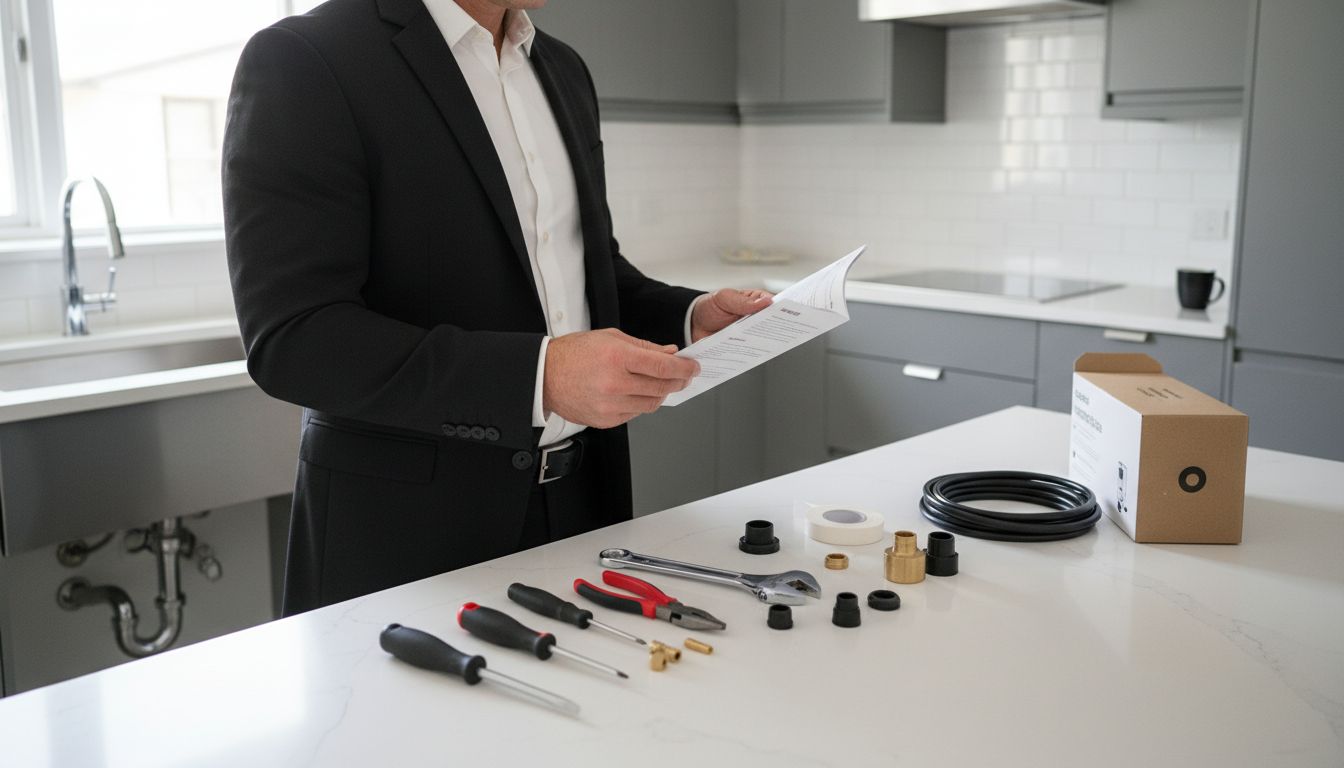
Step 1: Gather Required Tools and Materials
Before diving into your water filter installation, you need to collect all the right tools and materials. According to the EPA, reviewing the manufacturer’s instructions is critical to ensure you have everything needed for a smooth setup.
Typically, you’ll want to gather a few key items to make your installation process seamless. Start by collecting basic hand tools like an adjustable wrench, pliers, screwdrivers (both flathead and Phillips), and Teflon tape. The Michigan Department of Environment, Great Lakes, and Energy recommends checking your specific filter’s requirements to confirm you have compatible adapters and gaskets.
Pro tip: Lay out all your tools and materials on a clean surface before beginning. This helps you quickly identify if anything is missing and prevents scrambling mid installation. Once you have everything assembled, you’re ready to move on to preparing your installation workspace.
Step 2: Choose and Prepare Installation Location
Selecting the right spot for your water filter installation is more than just finding an empty space on your counter or sink. According to the EPA, you need to choose a location that provides easy access for future maintenance and allows for secure attachment of your filter unit.
The key is finding a location that offers both practicality and functionality. The Michigan Department of Environment, Great Lakes, and Energy suggests carefully examining your faucet to ensure compatibility with your filter. Remove the aerator and test different adapters to confirm a proper fit. Look for a spot near an electrical outlet if your filter requires power and ensure there’s enough clearance around the unit for proper ventilation and easy filter replacement.
Pro tip: Measure the available space before purchasing your water filter. Some under-sink models require specific cabinet dimensions, and countertop filters need a stable, level surface. Taking measurements beforehand prevents frustrating returns and ensures a smooth installation process. With your location selected and prepped, you are now ready to move on to the actual mounting of your water filtration system.
Step 3: Disconnect Water Supply Safely
Before installing your water filter, you need to safely shut off the water supply to prevent unexpected flooding or water damage. According to the EPA, following the manufacturer’s instructions carefully is crucial during this process to ensure a safe and leak-free installation.
Locate the main water shut-off valve for your sink or specific water line. This is typically found under the sink, in the basement, or near your water heater. The Michigan Department of Environment, Great Lakes, and Energy recommends completely turning off the water supply and then opening the faucet to release any remaining water pressure. This helps prevent unexpected sprays or water buildup when you disconnect the pipes.
Pro tip: Place a small bucket or towel underneath the connection point before disconnecting any pipes. This catches any residual water and prevents messy spills on your floor or cabinet. Once you’ve safely disconnected the water supply, you are now ready to begin the actual filter installation process.
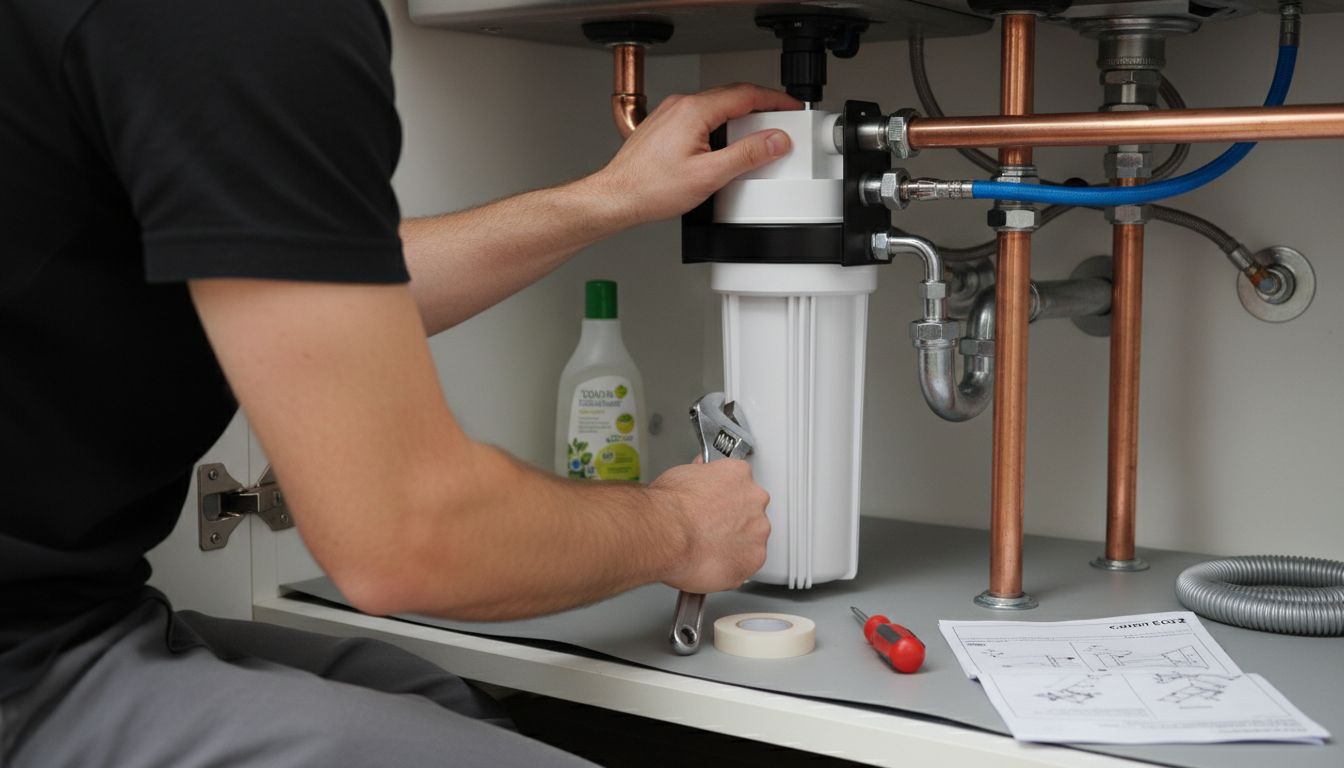
Step 4: Install the Water Filter Unit
Now comes the critical moment of actually mounting your water filter system. According to the EPA, precise installation is key to ensuring your filter functions correctly and prevents potential water leaks.
The Michigan Department of Environment, Great Lakes, and Energy recommends carefully aligning your filter unit and selecting the appropriate adapter for a secure fit. Start by threading the filter connections hand tight, avoiding over tightening which can damage the seals. If you are installing an under sink model, ensure the unit is level and mounted securely to prevent vibration or movement.
Pro tip: Double check all connections before turning the water back on. A small leak now can become a big problem later. For additional guidance on specific installation techniques, check out our complete water purifier installation guide that walks you through various scenarios. With the filter now installed, you are ready to test your new water filtration system.
Step 5: Test for Leaks and Confirm Operation
With your water filter installed, it is time to verify everything works correctly. According to the EPA, thoroughly running water through the newly installed filter and observing its performance is critical to ensuring proper installation and function.
The Michigan Department of Environment, Great Lakes, and Energy recommends running cold water through the filter to activate and test the system. Slowly turn on the water supply and carefully inspect all connection points for any signs of leakage. Watch the water flow and check for consistent pressure and any unusual sounds or dripping. Pay special attention to pipe connections, the filter housing, and the area around seals and gaskets.
Pro tip: Keep a few towels or a small bucket nearby during testing in case of unexpected leaks. If you notice any water seepage or irregular water flow, turn off the water supply immediately and recheck your connections. For more detailed troubleshooting, check out our complete water purifier installation guide that provides comprehensive insights into resolving common installation issues. Your careful testing now can prevent potential water damage and ensure your filter operates smoothly.
Make Your Water Filter Installation Effortless with Coway
Installing a water filter at home can feel overwhelming as you juggle gathering tools, finding the perfect spot, and ensuring leak-free connections. This step-by-step guide highlights common challenges like choosing the right location, disconnecting your water supply safely, and double-checking for leaks. If you want a hassle-free experience that guarantees clean, safe water without the stress of installation errors, Coway has you covered.

Explore our range of advanced water filtration systems designed with easy installation in mind. Whether you prefer countertop or under-sink models, each Coway purifier comes with clear instructions and expert service options including free delivery, professional installation, and ongoing maintenance support. Don’t wait until a small leak turns into a big problem. Visit the Uncategorized Archives – Coway Water Purifier and discover stress-free solutions. Take control of your home’s water quality today by visiting https://cowayswaterpurifier.com and get yours installed right the first time.
Frequently Asked Questions
What tools do I need to install a water filter?
To install a water filter, you’ll need basic hand tools such as an adjustable wrench, pliers, and screwdrivers (flathead and Phillips). Gather these tools along with Teflon tape to help ensure a secure connection.
How do I choose the right installation location for my water filter?
Select a location that provides easy access for maintenance and secure attachment of the filter unit. Ensure compatibility with your faucet by removing the aerator and testing different adapters before finalizing the spot.
What steps should I take to safely disconnect the water supply?
To safely disconnect the water supply, locate the main shut-off valve and turn it off completely. Then, open the faucet to release any remaining pressure, preventing spills during installation.
How do I install the water filter unit correctly?
Mount the water filter unit by aligning it with the appropriate adapter for a secure fit. Thread the connections hand tight, but avoid over-tightening to protect the seals from damage.
How can I test for leaks after installing the water filter?
Run cold water through the newly installed filter to ensure it operates correctly. Carefully inspect all connection points for any signs of leakage and keep a towel nearby in case of unexpected spills.
What should I do if I notice leaks during the testing process?
If you notice leaks while testing, immediately turn off the water supply. Recheck the connections and seals to ensure they are secure before turning the water back on.
Recommended
- Water Filter Replacement Workflow for Safe Drinking Water – Coway Water Purifier
- Setting Up Under Sink Filters: A Step-by-Step Guide – Coway Water Purifier
- Complete Water Filtration Process Guide for Homeowners – Coway Water Purifier
- Advanced Water Filtration Guide for Healthier Homes – Coway Water Purifier
- 7 Key Benefits of Water Filtration for Homeowners – 8th Bend Plumbing Heating and Cooling