
Uncategorized
Complete Water Purifier Installation Guide for Homeowners
Sep
Getting a new water purifier for your home is a big deal. Most people never realize that water quality can vary dramatically from one neighborhood to the next, even in the same city. You might think grabbing any filter off the shelf will do the trick but the real difference happens when you tailor your setup based on what is actually in your water. This first step could change everything about the safety of what you and your family drink.
Table of Contents
- Step 1: Assess Your Current Water Quality
- Step 2: Choose The Right Water Purifier Model
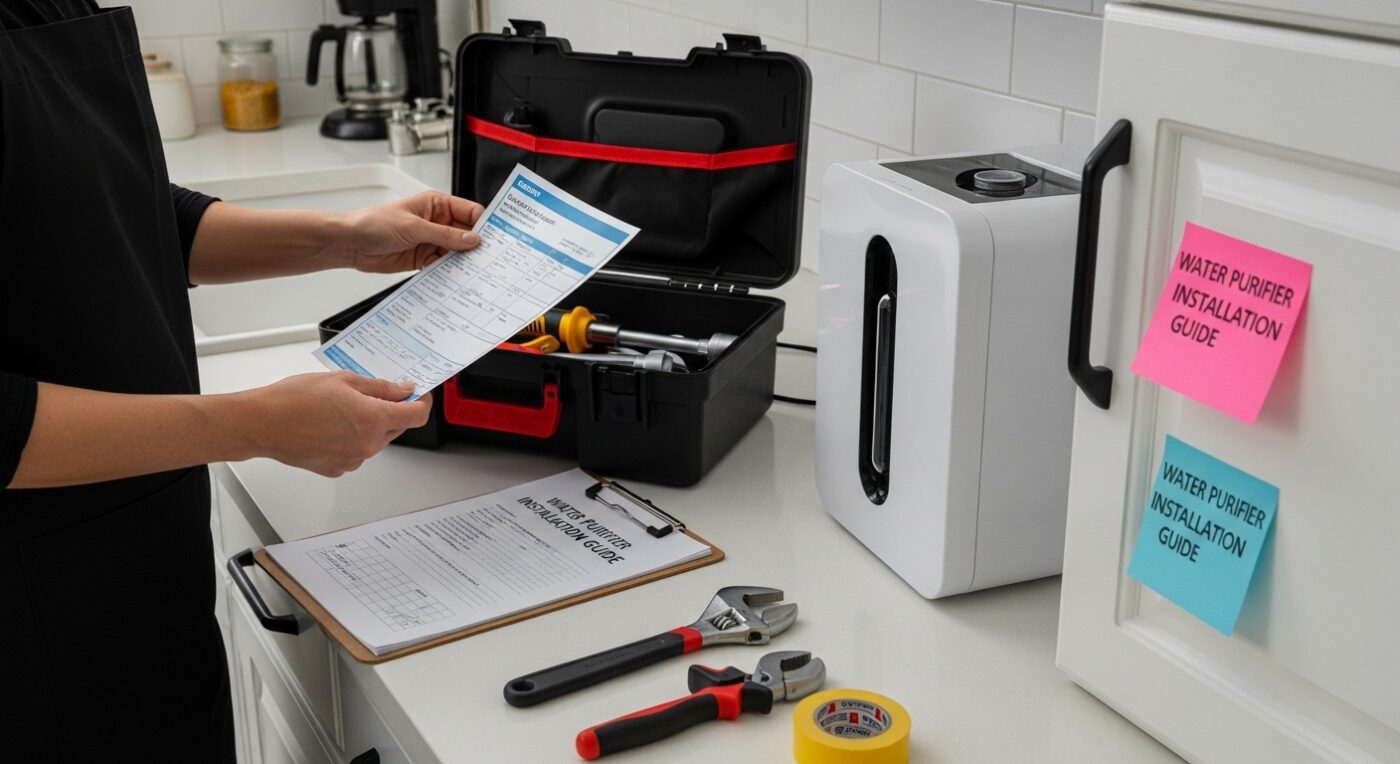
- Step 3: Gather Necessary Tools And Materials
- Step 4: Prepare Installation Area And Water Supply
- Step 5: Install The Water Purifier System
- Step 6: Test And Verify Water Purifier Functionality
Quick Summary
| Key Point | Explanation |
|---|---|
| 1. Assess your water quality first | Understanding your current water quality is crucial to choose the right purification system targeting specific contaminants. |
| 2. Choose a purifier that matches your needs | Not all water purifiers are the same; select one based on the specific contaminants identified in your assessment. |
| 3. Gather the right tools and materials | Prepare essential tools and compatible materials based on your water purifying system’s installation requirements to ensure a smooth installation. |
| 4. Prepare the installation area | A clean, organized space helps minimize complications; ensure plumbing connections are inspected and your workspace is ready for installation. |
| 5. Test your purifier after installation | Conduct thorough testing of the purifier’s functionality to verify its performance and ensure it effectively removes contaminants from your water. |
Step 1: Assess Your Current Water Quality
Before installing a water purifier, understanding your home’s current water quality is critical. This foundational step determines the most appropriate filtration system and ensures you target specific contaminants affecting your drinking water. Water quality varies dramatically between neighborhoods, even within the same city, making a comprehensive assessment essential.
Your initial water quality investigation involves multiple strategic approaches. Begin by requesting a water quality report from your local municipal water supplier. Most cities provide annual Consumer Confidence Reports that detail detected contaminants, potential health risks, and water source information. According to the EPA’s guidelines on water testing, comprehensive water analysis helps homeowners make informed decisions about water treatment.
For a more precise evaluation, consider professional water testing. Professional laboratory tests offer more detailed insights than basic home testing kits. These comprehensive assessments typically examine multiple parameters including:
- Heavy metal concentrations
- Microbial contamination levels
- pH balance
- Mineral content
- Potential organic and inorganic pollutants
If you have a private well, professional testing becomes even more crucial. Wells can harbor contaminants not typically found in municipal water systems, such as agricultural runoff, industrial chemicals, or naturally occurring minerals like arsenic or lead. Home testing kits provide a preliminary screening, but they cannot match the precision of professional laboratory analysis.
Once you receive your water quality report, carefully review the results. Look for specific contaminants that exceed recommended safety levels. Pay special attention to parameters like total dissolved solids (TDS), chlorine levels, and potential microbiological threats. These findings will directly inform your water purifier selection, helping you choose a system with targeted filtration capabilities that address your specific water quality challenges.
By conducting a thorough water quality assessment, you transform water purifier installation from a generic purchase to a precise, scientifically informed solution tailored to your household’s unique water composition.
Step 2: Choose the Right Water Purifier Model
Selecting the appropriate water purifier is a crucial decision that directly impacts your household’s health and water quality. The model you choose must align precisely with the water quality assessment completed in the previous step. Not all water purification systems are created equal, and a mismatched system can lead to ineffective filtration or unnecessary expenses.
Begin by understanding the primary filtration technologies available. Activated carbon filters excel at removing chlorine, sediment, and organic compounds, making them ideal for improving taste and odor. Reverse osmosis systems provide comprehensive filtration, removing up to 99% of dissolved solids, including heavy metals and microorganisms. Ultraviolet (UV) purifiers specialize in neutralizing bacteria and viruses, offering an additional layer of microbiological protection.
According to EPA guidelines on water treatment, certification matters significantly when selecting a water purification system. Look for NSF/ANSI certification, which validates a system’s ability to remove specific contaminants. This certification ensures the purifier meets rigorous health and safety standards, giving you confidence in your investment.
Consider your household’s specific needs when choosing a model. Factors like daily water consumption, available installation space, and maintenance requirements play critical roles. Families with high water usage might prefer under-sink or whole-house systems, while smaller households could benefit from countertop or pitcher-style purifiers. Budget considerations are important, but remember that investing in a high-quality system provides long-term health benefits.
Pay attention to filter replacement frequency and costs. Some advanced systems require more frequent filter changes, which can add significant expense over time. Evaluate the total cost of ownership, including initial purchase price, installation, and ongoing maintenance. Seek models with clear maintenance guidelines and readily available replacement filters.
Before making a final decision, request product demonstrations or detailed specifications from manufacturers. Compare warranty terms, customer support options, and user reviews. A comprehensive approach to selection ensures you choose a water purifier that not only meets your current water quality needs but also provides reliable, long-term protection for your household.
Below is a quick comparison of common household water purifier types, including their key strengths and suitable use cases, based on options discussed in the article.
| Purifier Type | Main Contaminants Removed | Best For | Key Considerations |
|---|---|---|---|
| Activated Carbon Filter | Chlorine, sediment, organics | Improving taste/odor | Occasionally needs replacement |
| Reverse Osmosis (RO) | Dissolved solids, metals, microbes | Broad contaminant removal | May need more space & plumbing |
| Ultraviolet (UV) | Bacteria, viruses | Microbial protection | Requires electricity |
| Countertop/Pitcher | Basic filtration (varies by model) | Small households, renters | Limited daily capacity |
| Whole-House/Undersink | Multiple (depends on system chosen) | Large families, heavy use | Higher cost, complex install |
Step 3: Gather Necessary Tools and Materials
Preparing for water purifier installation requires meticulous planning and gathering the right tools and materials. This step transforms your preparation from theoretical to practical, ensuring you have everything needed to complete the installation smoothly and efficiently. Professional-grade installations demand precision and the correct equipment.
Your toolkit should include essential hand tools that will be critical during the installation process. A comprehensive set typically includes an adjustable wrench, plumber’s tape, tube cutter, measuring tape, drill with various bit sizes, level, safety glasses, and protective gloves. These tools will help you handle plumbing connections, create precise cuts, and ensure secure mounting of your water purification system.
According to NASA’s water filtration guidelines, having the right materials is as important as having the right tools. For water purifier installation, you will need additional specialized materials such as mounting brackets, connection adapters, shut-off valves, flexible supply lines, and potential sealants or plumbing compounds. Compatibility is key when selecting these materials, so cross-reference your specific water purifier model’s installation manual for exact requirements.
Plumbing materials require special attention. Gather high-quality components like brass or stainless steel fittings, which offer superior durability compared to cheaper alternatives. Invest in food-grade silicone washers, Teflon tape for creating watertight seals, and potential pipe extensions if your current plumbing configuration requires modifications. Some installations might need additional items like pressure regulators or check valves, depending on your specific system and home’s water infrastructure.
Prepare a clean, organized workspace near your installation area. Lay out all tools and materials before beginning, which helps prevent interruptions and allows you to identify any missing components quickly. Keep a digital camera or smartphone nearby to document each step, which can be invaluable if you need to reference your work or seek professional advice during the installation process.
Finally, verify your material and tool inventory. Cross-check against the installation manual, ensuring you have every required item.
Below is a detailed tools and materials checklist to help you prepare everything needed for a smooth water purifier installation.
| Tool/Material | Purpose/Use | Notes |
|---|---|---|
| Adjustable wrench | Tightening and loosening plumbing connections | Essential for most fittings |
| Plumber’s tape (Teflon tape) | Creating watertight seals on threaded joints | Prevents leaks |
| Tube cutter | Cutting pipes to size | Needed for precise cuts |
| Mounting brackets | Securing system to wall or cabinet | Ensure compatibility |
| Connection adapters | Adapting fittings to match existing plumbing | Model-specific requirements |
| Drill with bits | Making holes for mounting or connections | Use appropriate bit sizes |
| Measuring tape & level | Accurate placement and straight installation | Ensures professional finish |
| Food-grade silicone washers | Preventing leaks at connection points | Use where specified |
| Brass/Stainless steel fittings | High-durability connectors for long-lasting setup | Superior to plastic alternatives |
| Protective gloves & glasses | Ensuring safety during installation | Basic personal protection |

Step 4: Prepare Installation Area and Water Supply
Preparing the installation area and water supply represents a critical phase in your water purifier setup. This step transforms your workspace into a precise, ready-to-install environment that minimizes potential complications and ensures a smooth installation process. Proper preparation reduces the risk of contamination, prevents potential water damage, and sets the foundation for a successful water purification system implementation.
Clear and clean workspace preparation is your first priority. Select an installation location that provides adequate space, proper ventilation, and proximity to your primary water line. Measure the designated area carefully, ensuring sufficient clearance for the water purifier, future maintenance access, and potential plumbing connections. Remove any existing cabinetry, shelving, or obstacles that might interfere with the installation process.
According to EPA water filter installation guidelines, shutting off the main water supply is a critical safety step. Locate your home’s primary water shut-off valve, typically found near the water meter or in the basement. Turn the valve completely clockwise to halt water flow. Open a nearby faucet to relieve any remaining water pressure and confirm the water supply is completely stopped. Drain remaining water from the pipes by running faucets until water flow ceases.
Inspect your existing plumbing connections thoroughly. Look for signs of corrosion, mineral buildup, or potential leaks that could compromise your new water purification system. Potential issues like aged pipes or improper fittings can significantly impact installation success. Consider replacing sections of corroded piping or acquiring specialized adapters to ensure compatible connections. Clean the area around your intended installation site, removing dust, debris, and any potential contaminants that could interfere with the system’s performance.
Verify electrical requirements if your chosen water purifier model needs electrical connections. Ensure a nearby grounded outlet exists, and the electrical circuit can handle the system’s power requirements. If no suitable outlet is available, consult an electrician to install a properly rated electrical connection. Keep the area dry and free from potential water splash zones to prevent electrical hazards.
Before proceeding, double-check your preparation by reviewing the manufacturer’s specific installation instructions. Confirm that your workspace meets all recommended guidelines, providing a clean, accessible, and well-prepared environment for your new water purification system.
Step 5: Install the Water Purifier System
Installing your water purifier system marks the most critical phase of your water treatment journey. This step transforms your carefully selected equipment into a functional protective barrier against water contaminants. Precision and patience are your most valuable tools during this process, as even minor installation errors can compromise your system’s effectiveness.
Begin by carefully unpacking your water purifier, laying out all components methodically. Read the manufacturer’s installation manual completely before initiating any physical installation. Each water purification system has unique mounting requirements and connection specifications. Some models demand under-sink installation, while others require countertop or whole-house mounting. Verify your chosen location matches the manufacturer’s recommended installation guidelines.
According to NSF International’s water treatment guidelines, proper connection to your water supply is paramount. Start by applying plumber’s tape to all threaded connections to ensure watertight seals. Use your adjustable wrench to connect supply lines, being careful not to over-tighten, which could damage delicate threading or cause micro-fractures in the piping.
Mounting the system securely requires careful attention to structural support. Use the mounting brackets provided, ensuring they are attached to stable surfaces capable of supporting the system’s weight. If mounting to drywall, locate wall studs or use appropriate anchoring mechanisms that prevent system movement or potential future damage. Level the system precisely, as an uneven installation can lead to improper water flow or potential leakage.
Connect electrical components if your system requires them, following manufacturer instructions meticulously. Ensure all connections are secure, dry, and away from potential water splash zones. Some advanced water purifiers include complex electronic monitoring systems, so take extra care during electrical connections.
After completing the physical installation, conduct a comprehensive pre-operational inspection. Check all connections for potential leaks by slowly turning on the water supply and observing each joint and connection point. Run water through the system, monitoring for any unusual sounds, drips, or irregular water flow. Most manufacturers recommend running the system for several minutes to flush initial filters and remove any manufacturing residues.
Final verification involves testing water quality and system performance. Use the included water quality testing strips or consult a professional to ensure your newly installed water purifier functions at optimal efficiency. Document your installation process, keeping all manufacturer paperwork and installation records for future reference and potential warranty claims.
Step 6: Test and Verify Water Purifier Functionality
Testing and verifying your water purifier’s functionality represents the critical final stage of installation, transforming your technical work into a reliable water treatment solution. This step ensures that your carefully selected and installed system performs exactly as intended, providing safe and clean drinking water for your household.
Initial system activation requires a methodical approach. Begin by slowly opening the water supply valve, allowing water to flow through the system gradually. Watch carefully for any unexpected leaks, unusual sounds, or irregular water pressure. Pay close attention to connection points, checking for even the smallest signs of water seepage. A few drops of water during initial pressurization can indicate potential future maintenance needs.
According to NASA’s water filtration testing guidelines, comprehensive water quality testing is essential. Use professional water testing kits to assess multiple parameters including pH levels, total dissolved solids, and potential contaminant removal efficiency. Compare pre-installation water quality measurements with post-installation results to quantify your purifier’s performance. Look for significant reductions in chlorine, heavy metals, and microbial contaminants.

Carefully monitor your water purifier’s initial operational cycle. Run water through the system for at least 10-15 minutes, allowing complete filter saturation and removing any residual manufacturing particles. Collect water samples at different intervals, observing color, clarity, and taste. Professional-grade water testing strips can provide immediate insights into water quality improvements.
Verify the system’s electronic components if applicable. Check display panels, indicator lights, and any digital monitoring systems. Ensure all electrical connections function correctly and that the system provides accurate performance feedback. Some advanced water purifiers include smartphone connectivity or digital monitoring platforms that can offer real-time water quality information.
Document your testing process meticulously. Record initial water quality measurements, system performance observations, and any minor adjustments made during the verification stage. This documentation serves multiple purposes: it provides a baseline for future maintenance, supports potential warranty claims, and helps you understand your home’s specific water treatment needs.
Final verification involves a comprehensive sensory and technical assessment. Taste the filtered water, checking for any unusual flavors or odors. Observe water clarity and perform additional home-based tests to confirm the system’s effectiveness. Remember that proper water purifier functionality is an ongoing process requiring regular maintenance and periodic professional assessment.
Find Your Perfect Water Purifier Solution with Confidence
Choosing and installing the right water purifier is not just about following steps. It is about protecting your loved ones from hidden water contaminants and making a real improvement in everyday health. If you are worried about heavy metals, chlorine, or bacteria in your water, you deserve a solution that matches the exact results you want. Coway purifiers are engineered with advanced filtration and UV sanitization, ensuring you get safe, clean water every day. From under-sink units to countertop purifiers, our range is designed to fit your space and meet your specific needs—just like you learned in the article.

Do not let all your preparation go to waste with the wrong purifier or delayed installation. Take the next step and explore our full collection of water purifiers where you can see models, features, and real customer results. When you choose Coway, you also get free professional installation and maintenance, making your switch to cleaner water as easy as possible. Visit our main site and secure your family’s health today by selecting the right purifier for your home.
Frequently Asked Questions
How do I assess my home’s current water quality before installing a water purifier?
To assess your water quality, request a water quality report from your local municipal supplier, or consider professional water testing for a comprehensive evaluation of heavy metals, microbial contamination, pH balance, and more.
What factors should I consider when choosing a water purifier model?
Consider the primary filtration technologies like activated carbon filters, reverse osmosis systems, and UV purifiers. Also, factor in your household’s daily water consumption, available installation space, maintenance requirements, and overall budget.
What tools and materials do I need for installing a water purifier?
You will need essential hand tools such as an adjustable wrench, plumber’s tape, and a tube cutter, along with specialized materials like mounting brackets, connection adapters, and high-quality plumbing fittings to ensure a successful installation.
How can I test the functionality of my water purifier after installation?
After installation, slowly open the water supply and check for leaks. Then, conduct thorough water quality testing using professional kits to compare pre-installation and post-installation results, ensuring the purifier effectively removes contaminants.