
Uncategorized
How to Test Tap Water Quality for Safe Drinking at Home
Feb
Every parent faces that moment when serving a glass of water means hoping it is as safe as it looks. Water quality concerns are real for many American families, especially those with young children who depend on clean tap water for daily hydration and meals. Knowing exactly how to assemble the essential testing materials empowers you to identify and address potential threats in your home’s water supply with confidence and peace of mind.
Table of Contents
- Step 1: Gather Essential Testing Materials
- Step 2: Collect and Prepare Tap Water Samples
- Step 3: Run Home Water Quality Tests
- Step 4: Interpret and Verify Test Results
Quick Summary
| Key Message | Explanation |
|---|---|
| 1. Use Clean, Sterile Containers | Ensure water sampling containers are sterile to avoid contamination that can affect your results. |
| 2. Proper Sample Collection is Crucial | Flush the tap for several minutes before sampling to eliminate stagnant water and ensure accurate results. |
| 3. Read Instructions Thoroughly | Carefully follow kit instructions to avoid errors during testing, as precision is essential for accurate analysis. |
| 4. Compare Results to EPA Standards | Evaluate your test results against EPA contaminant limits to understand potential health risks and necessary actions. |
| 5. Retest if Contaminants are Found | If initial tests indicate contamination above safe levels, retest to confirm before seeking solutions or treatments. |
Step 1: Gather Essential Testing Materials
Before you start testing your tap water, you need to assemble the right tools and containers. Think of this as preparing for a doctor’s visit—you wouldn’t show up without the right information, and water testing requires the same preparation.
Your foundation starts with clean sampling containers. These aren’t just any bottles—they need to be sterile or thoroughly cleaned to avoid introducing contaminants that would skew your results. If you’re testing for bacteria or specific chemicals, the container itself can affect accuracy, so cleanliness matters more than you might expect.
Next, gather the specific testing materials based on what you want to check. Here’s what most households need:
- Home testing kits for basic contaminants like chlorine, pH, and hardness
- Certified lab kits if you’re testing for heavy metals or bacteria
- Sterile gloves to keep your hands from contaminating samples
- Sample bottles that come with many kits (often pre-sterilized)
- Labeling supplies to mark collection date and time
Consumer Reports recommends using certified laboratories for comprehensive analysis rather than relying solely on home test kits. This doesn’t mean you need both—it means choosing the right approach for your needs.
If you’re concerned about specific contaminants like lead or bacteria, purchase a kit designed for those. General home kits test pH, chlorine, and hardness reasonably well. But for heavy metals or microbial contamination, mail-in lab kits provide more reliable results.
Here’s a comparison of home water testing approaches:
| Criteria | Home Test Kit | Certified Lab Analysis |
|---|---|---|
| Accuracy | Moderate, suitable for basic checks | High, reliable for all contaminants |
| Turnaround Time | Immediate, results in minutes | 2–7 days after mailing sample |
| Cost | $10–$50 per kit | $50–$200 per kit |
| Best Use | Regular monitoring, initial screening | Health-critical concerns, official verification |
Store all materials in a cool, dry place away from direct sunlight until you’re ready to test—contamination can start before you even collect your sample.
Don’t skip the small details. Many people grab any old bottle from under the sink and wonder why their results seem off. The container quality and sterility directly impact what you discover about your water.
Pro tip: Order your test kit a few days before you plan to test, so you have time to read the instructions and understand exactly how to collect samples without accidentally invalidating them.
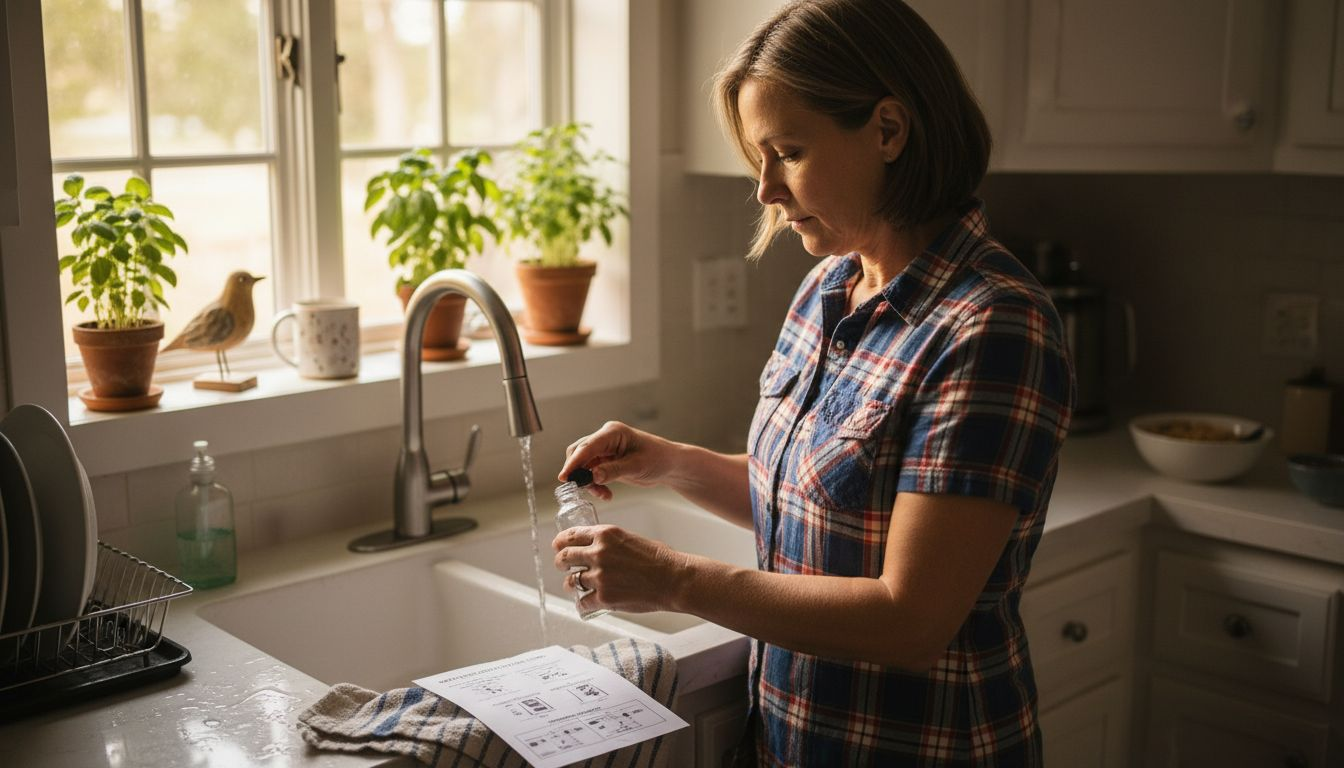
Step 2: Collect and Prepare Tap Water Samples
Now that you have your materials ready, it’s time to collect water samples that will give you accurate results. The way you collect water matters just as much as what you test it for.
Start by flushing your tap for several minutes before collecting any sample. Stagnant water sitting in pipes overnight can contain sediment, rust, or bacterial growth that doesn’t represent your actual drinking water quality. Run the tap until the water feels cold and flows steadily—this usually takes three to five minutes.
Follow these steps for proper sample collection:
- Clean the faucet where you’re collecting water to remove surface debris
- Let water flow for the recommended flushing period
- Fill your container without touching the interior of the bottle
- Seal the container immediately according to kit instructions
- Label with date and time before storing or shipping
The container itself plays a crucial role in accuracy. Your kit may include pre-sterilized bottles, sometimes with preservatives for specific tests like bacterial or heavy metal analysis. Don’t substitute regular bottles—these chemicals ensure your sample stays valid during transport and storage.
Proper sample handling procedures require following timing guidelines, especially if you’re mailing samples to a lab. Most labs need samples within 24 to 48 hours of collection, depending on what you’re testing for.
If you’re using a mail-in kit, pack your sample carefully and ship it promptly. Sterile bottles with preservatives maintain sample integrity during transit, but delays compromise results.
Transport your sample to the lab or mail it the same day you collect it—every hour counts for test accuracy, especially with bacterial tests.
One common mistake is touching the inside of the container or letting the water splash back into the bottle. Sounds simple, but this introduces hand bacteria that can invalidate bacterial testing results.
Pro tip: Collect your sample during mid-morning or mid-afternoon when your household water usage is normal, avoiding first-thing-morning stagnant water or heavy-use periods that might skew results.
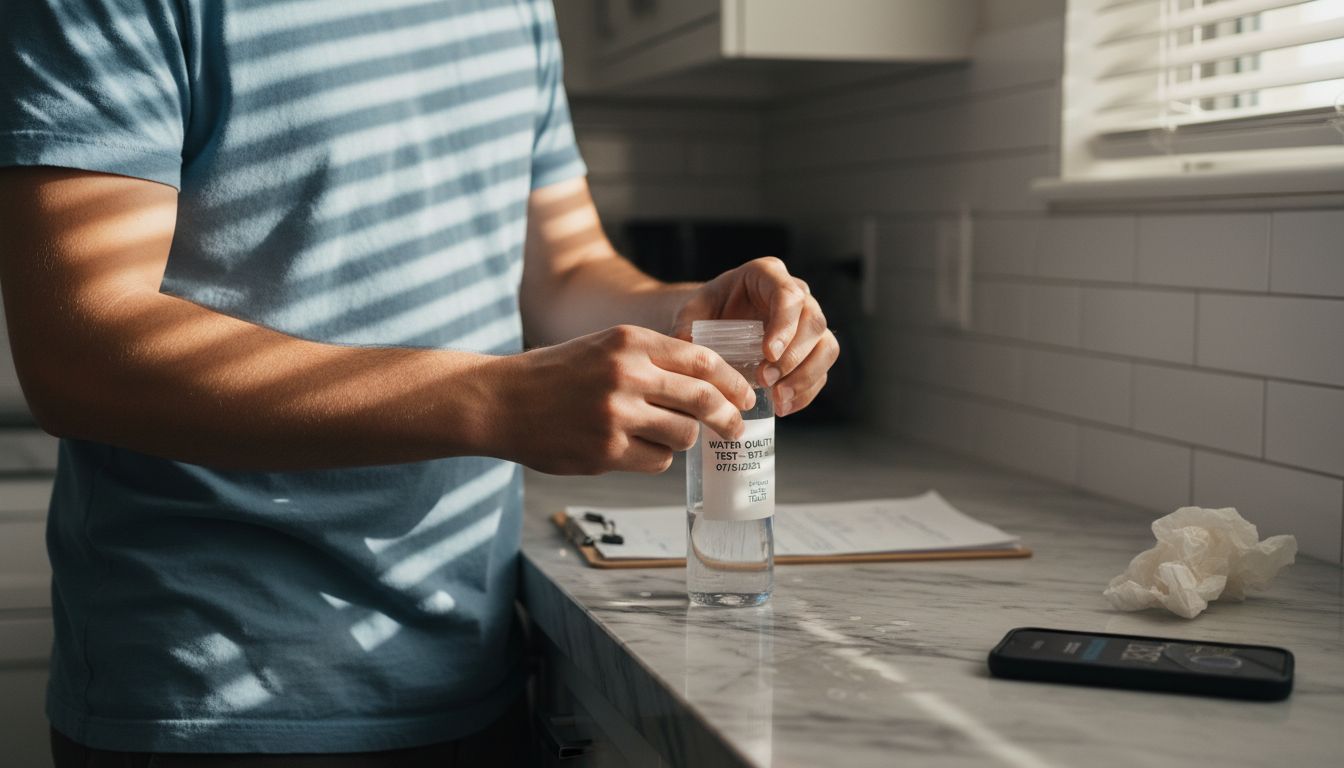
Step 3: Run Home Water Quality Tests
You’re ready to test your water. Whether you’re using a simple kit or sending samples to a lab, this step reveals what’s actually in your tap water and what you need to address.
Home test kits come in different formats, each suited for different purposes. Reagent strips offer quick preliminary checks for pH, chlorine, and hardness. Multi-contaminant kits test for bacteria, heavy metals, and chemical compounds. The choice depends on your specific concerns about your water quality.
For at-home testing, follow these steps:
- Read all instructions before opening any kit materials
- Prepare your testing space with clean surfaces and proper lighting
- Follow timing guidelines precisely for accurate results
- Record observations immediately while tests are developing
- Compare against reference charts included in your kit
If you’re using a mail-in system, the process differs slightly. The Water Quality Association offers professional-grade testing through home sampling kits, combining convenience with lab accuracy for detecting heavy metals, minerals, microbiological elements, and organic chemicals.
Understand your kit’s limitations. Home test kits range from simple strips to comprehensive systems, but preliminary results often need lab confirmation for critical contaminants like lead or bacteria. Don’t treat preliminary results as definitive.
Home kits excel at showing you what to investigate further, but lab analysis provides the certainty you need for health decisions.
If your results raise concerns about specific contaminants, plan to follow up with certified lab testing. Many homeowners use home kits first to identify problem areas, then send professional samples for confirmation.
Write down all results with dates and times. This creates a record you can reference later and share with water treatment professionals if needed.
Pro tip: Run your home test twice with samples from the same tap a few hours apart to verify results—inconsistent readings suggest you may need professional lab confirmation before taking action.
Step 4: Interpret and Verify Test Results
Your test results are in hand. Now comes the critical step of understanding what those numbers mean and whether your water is truly safe for your family to drink.
Start by comparing your results against EPA standards. The Environmental Protection Agency sets maximum contaminant levels for drinking water, and your test report should clearly show how your water measures up. Don’t panic if you see numbers on your report—what matters is whether those numbers exceed safe limits.
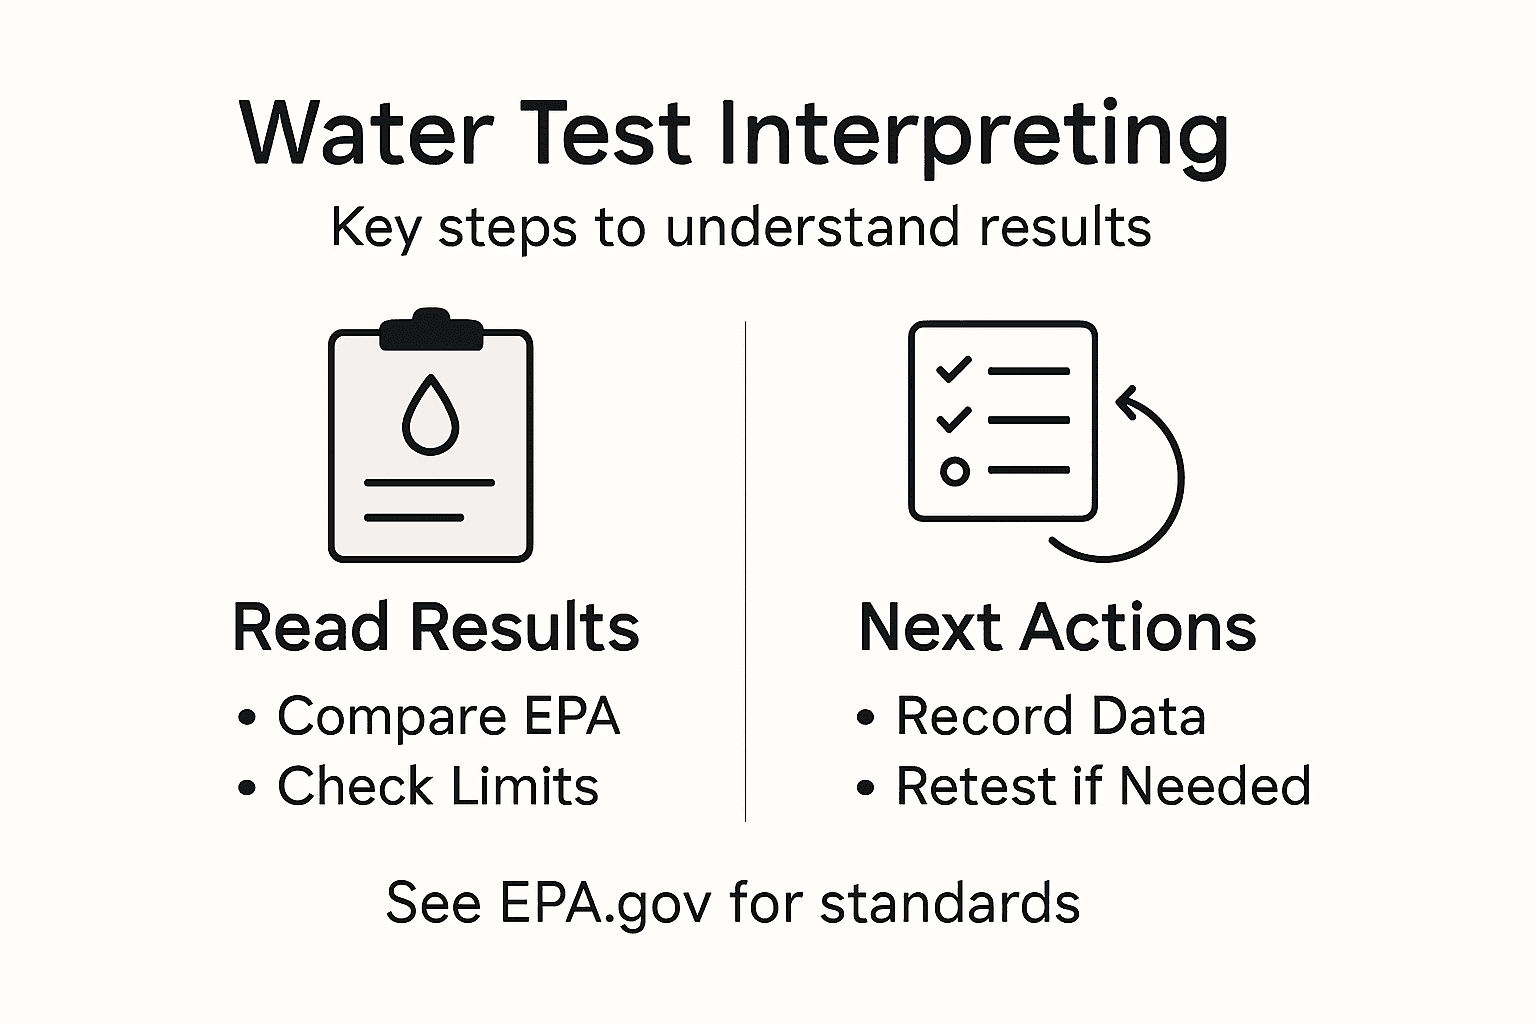
Here’s how to make sense of your results:
EPA maximum limits for common water contaminants help you interpret your results:
| Contaminant | EPA Limit (MCL) | Possible Health Risk |
|---|---|---|
| Lead | 0.015 mg/L | Neurological damage in children |
| Nitrates | 10 mg/L (as N) | Blue baby syndrome |
| Total Coliform Bacteria | 0 per 100 mL | Gastrointestinal illness |
| Chlorine | 4 mg/L | Eye/skin irritation, taste issues |
- Check the MCL column (Maximum Contaminant Level) to see if contaminants exceed safety thresholds
- Note naturally occurring contaminants like calcium and magnesium that may not pose health risks
- Identify concerning results that require follow-up testing or treatment
- Compare against your Consumer Confidence Report from your local water utility
Some contaminants require immediate attention. Lead, bacteria, and certain chemicals demand swift action. Understanding health risk thresholds against EPA guidelines helps you distinguish between results that need urgent response and those that can be monitored over time.
Verification strengthens your confidence in results. If your initial test detected concerning levels of lead or PFAS, retesting through certified labs confirms whether contamination is consistent or a one-time occurrence. Repeat testing over several weeks reveals patterns and helps you make informed treatment decisions.
One positive result doesn’t guarantee safety, and one negative result doesn’t guarantee problems won’t develop—consistent patterns matter more than single tests.
Consider the source of contamination. Is it from your municipal supply or your home’s plumbing? Water from old pipes often contains lead that municipal water doesn’t. This distinction determines what solutions work best for your situation.
Document everything. Keep records of test dates, results, and any changes you notice in water taste, odor, or appearance. This history becomes valuable if you need to consult with water treatment specialists.
Pro tip: If initial results show contaminants above safe levels, retest in two weeks using the same lab and same collection procedures to confirm the problem exists before investing in treatment systems.
Ensure Your Home Water Is Truly Safe With Advanced Purification Solutions
Testing tap water quality at home can be a complex and sometimes frustrating process. The challenge lies in pinpointing contaminants like lead, bacteria, or chlorine levels before they affect your health. If you have concerns about fluctuating test results or the hassle of repeated lab analysis, you are not alone. Many homeowners discover that relying solely on testing is not enough to guarantee safe drinking water every day.
Take control of your family’s health by pairing your water testing efforts with proven filtration technology tailored for home use. Explore reliable water purification systems that address common contaminants directly at the source. Coway’s range of water purifiers offers advanced filtration methods, including UV sanitization and multi-stage filters, designed to deliver consistently pure water without guesswork. Don’t wait for another test result to worry you. Visit the Uncategorized Archives – Coway Water Purifier to find solutions tested for safety and effectiveness.

Start your journey to confident hydration today. Discover water purifiers that align with your health priorities and enjoy free delivery, installation, and maintenance when you order from Coway Water Purifier. Take action now and transform your tap water into a source of wellness you can trust. Check out the full range of products at Coway Water Purifier and make safe drinking water an everyday reality.
Frequently Asked Questions
How can I gather the right materials for testing tap water quality at home?
To test tap water quality at home, gather sterile sampling containers, a home testing kit, and optional certified lab kits if needed. Start by ordering these materials a few days before your planned testing date to ensure everything is ready.
What steps should I follow to collect accurate water samples for testing?
To collect accurate water samples, flush your tap for several minutes before filling your container to avoid stagnant water. Clean the faucet, fill the container without touching the inside, seal it immediately, and label it with the date and time to ensure proper tracking of your sample.
How do I interpret the test results for my tap water?
When interpreting test results, compare your findings against the Environmental Protection Agency (EPA) standards for contaminants. Focus on whether any contaminants exceed the safe limits indicated in the report, especially for serious concerns like lead or bacteria.
What should I do if my water test reveals high contaminant levels?
If your water test indicates high contaminant levels, especially for lead or harmful bacteria, consider retesting to confirm the results. Follow up with certified labs for additional testing and explore treatment options based on consistent patterns you observe in several tests.
How often should I test my tap water for safety?
It’s advisable to test your tap water yearly or more frequently if you notice changes in taste, smell, or appearance. Establishing a routine helps you monitor any shifts in water quality, ensuring you respond promptly to potential issues.
Recommended
- How to Assess Water Quality for Safer Homes – Coway Water Purifier
- How to Ensure Safe Drinking Water for Home and Business – Coway Water Purifier
- Understanding Why Test Drinking Water for Safety – Coway Water Purifier
- Understanding Why Purify Tap Water for Health and Safety – Coway Water Purifier
- THE IMPORTANCE OF FLUIDS – TMRG Solutions