
Uncategorized
How to Assess Indoor Air Quality Effectively at Home
Dec
Over 90 percent of American households spend most of their time indoors, yet many overlook the impact of air quality on daily health. Poor indoor air can trigger allergies, breathing issues, and even long-term illness, making it a serious concern for families nationwide. By understanding the steps to assess and improve your home’s air, you can create a safer, more comfortable environment for everyone who walks through your door.
Table of Contents
- Stage 1: Prepare Your Home for Air Quality Assessment
- Stage 2: Identify Primary Sources of Indoor Air Pollution
- Stage 3: Select and Use Air Quality Monitoring Tools
- Stage 4: Conduct Comprehensive Indoor Air Quality Testing
- Stage 5: Interpret Results and Plan Improvements
Quick Summary
| Key Message | Explanation |
|---|---|
| 1. Thoroughly prepare your home | Clean living spaces and minimize pollutants before the air quality assessment begins. This ensures a more accurate evaluation of indoor air. |
| 2. Identify pollution sources systematically | Conduct a detailed inspection throughout your home, focusing on areas vulnerable to contaminants, such as kitchens and basements. |
| 3. Select suitable monitoring tools | Choose air quality monitors that detect various pollutants, ensuring they provide real-time readings for informed decisions about air quality. |
| 4. Conduct comprehensive testing | Use professional-grade testing kits to detect multiple contaminants, paying special attention to moisture-prone areas and fuel-burning appliances. |
| 5. Interpret results for actionable improvements | Categorize test results by severity, creating a prioritized remediation plan, and track progress visually to enhance indoor air quality effectively. |
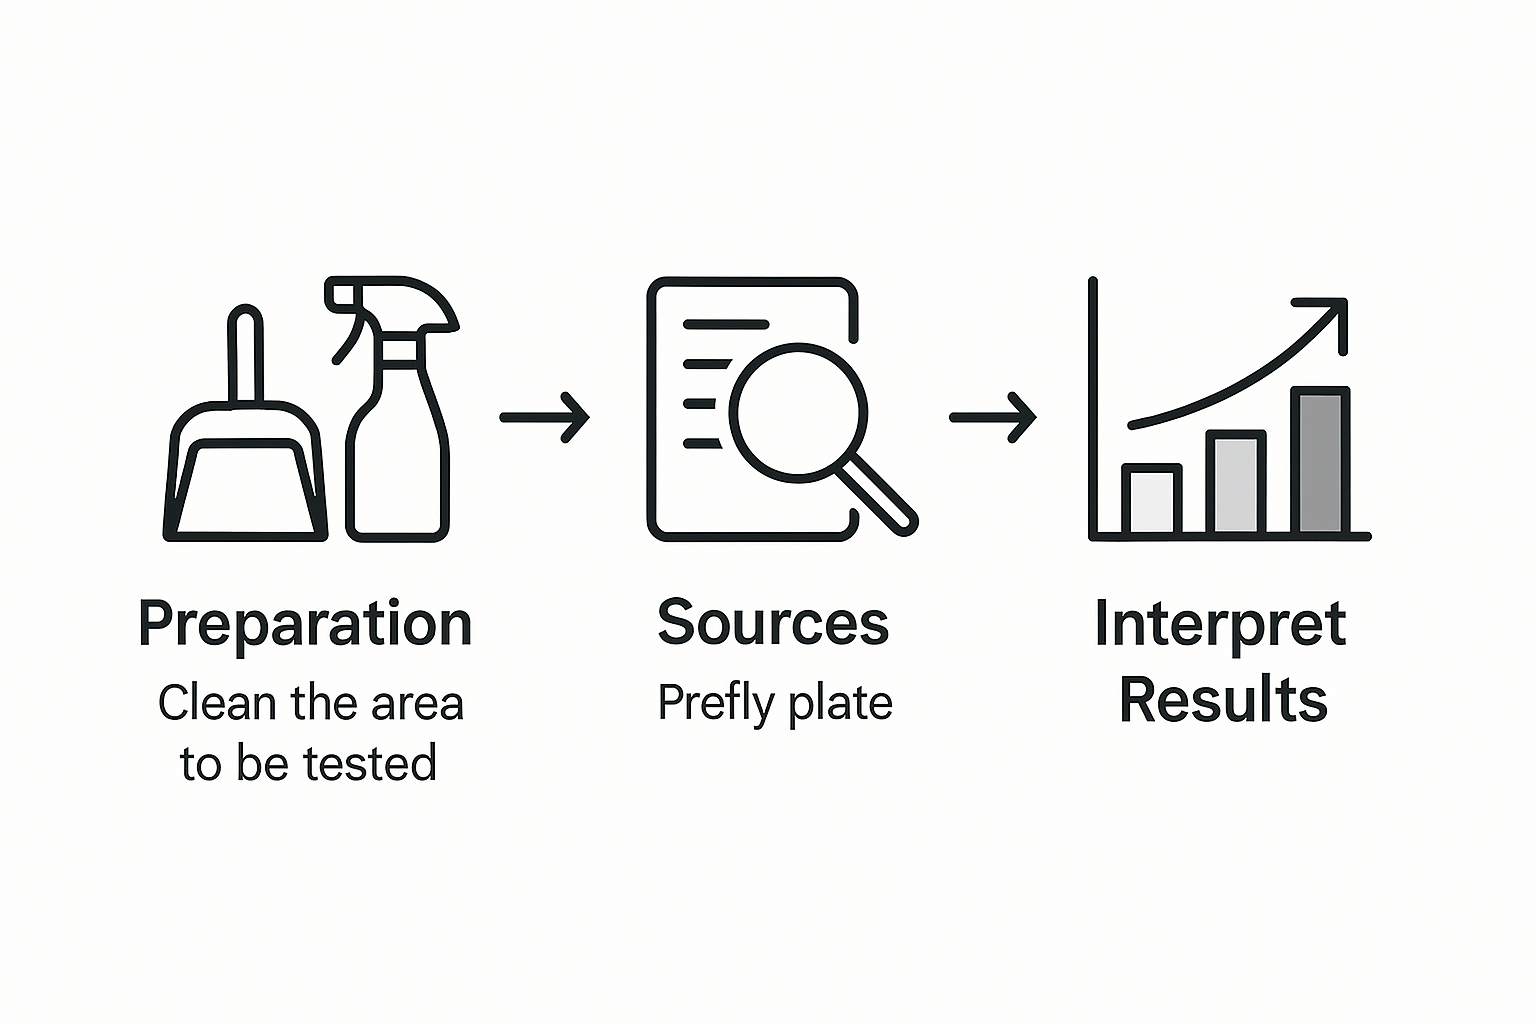
Stage 1: Prepare Your Home for Air Quality Assessment
Getting ready for a comprehensive indoor air quality assessment requires strategic preparation and keen attention to detail. The goal is to create an accurate snapshot of your home’s air environment, helping you identify potential health risks and improvement areas.
Start by thoroughly cleaning your living spaces to minimize temporary pollutant variations. Dust surfaces, vacuum carpets and upholstery using a HEPA filter vacuum, and open windows for at least 30 minutes to establish baseline air circulation. The EPA recommends controlling pollution sources before conducting any assessment, which means removing potential contaminant generators like aerosol sprays, cleaning chemicals, or recently painted items from the assessment area.
Prepare documentation about your home’s specific characteristics that might impact air quality. This includes details like your home’s age, recent renovations, type of heating and cooling systems, and any known moisture or ventilation issues. The American Lung Association suggests documenting health histories and home features during their virtual home assessments, which can provide critical context for understanding potential air quality challenges.
Pro Tip: Before the assessment, create a simple home layout sketch marking areas of potential concern like bathrooms, basement, kitchen, and spots where you notice musty smells or excessive dust accumulation. This visual guide will help assessors quickly identify potential air quality problem zones.
Stage 2: Identify Primary Sources of Indoor Air Pollution
Identifying the main sources of indoor air pollution is crucial for creating a healthier home environment. This step requires a systematic approach to understanding and detecting potential contaminants that can compromise your air quality and overall health.
The EPA highlights several critical indoor air pollution sources ranging from biological contaminants to chemical emissions. Common culprits include household cleaning products, building materials, combustion appliances, and everyday items like furniture and carpets. Pay special attention to areas with high moisture like bathrooms and basements, where mold and mildew can proliferate. Volatile organic compounds (VOCs) from paint, furniture, and personal care products also contribute significantly to indoor air contamination.
To systematically identify pollution sources, conduct a comprehensive room by room assessment. Start in the kitchen, checking gas stoves and appliances for potential carbon monoxide leaks. In living areas, examine upholstery, carpets, and wooden furniture for potential formaldehyde emissions. Consumer Product Safety Commission guidelines recommend careful inspection of materials that might contain lead, asbestos, or other hazardous substances.

Pro Tip: Create a detailed room by room pollutant tracking sheet. Document potential sources, their locations, and any observable signs of contamination like musty odors, visible mold, or persistent dust accumulation. This systematic documentation will prove invaluable during your comprehensive indoor air quality assessment.
Stage 3: Select and Use Air Quality Monitoring Tools
Selecting the right air quality monitoring tools is essential for obtaining accurate insights into your home’s environmental health. These sophisticated devices help you track and understand the invisible pollutants that could be impacting your daily living environment.
The EPA recommends choosing air quality monitors that can measure specific contaminants, including radon, carbon monoxide, and particulate matter. When shopping for monitoring equipment, prioritize multi function devices capable of detecting various pollutants. Look for monitors with digital displays that provide real time readings and historical tracking capabilities. Some advanced models even offer smartphone connectivity, allowing you to track air quality data remotely and receive instant alerts about potential environmental changes.
Ohio State Health guidelines suggest strategically placing monitoring devices throughout your home, particularly near potential pollution sources like kitchens, bedrooms, and areas with combustion appliances. Consider purchasing separate specialized monitors for specific concerns like radon detection in basements or carbon monoxide sensors near heating systems. Professional grade monitors typically provide more comprehensive data compared to consumer models, offering detailed breakdowns of particulate sizes, chemical concentrations, and potential health risks.
Pro Tip: Calibrate your air quality monitors annually and replace sensors as recommended by manufacturers to ensure consistently accurate measurements. Keep a log of your readings to track trends and identify potential improvements in your home’s air quality over time.
Stage 4: Conduct Comprehensive Indoor Air Quality Testing
Comprehensive indoor air quality testing involves a systematic approach to uncovering potential health risks within your living environment. This critical process helps you identify hidden pollutants and develop targeted strategies for improving your home’s air quality.
The American Lung Association recommends virtual home assessments that provide expert evaluation of your indoor spaces. Begin by conducting a room by room inspection focusing on key areas like bedrooms, living rooms, kitchen, and basement. Use professional grade testing kits designed to detect multiple contaminants including mold spores, volatile organic compounds (VOCs), particulate matter, and potential respiratory irritants. Pay special attention to areas with high moisture, poor ventilation, or proximity to fuel burning appliances.
The EPA emphasizes the importance of comprehensive testing to understand complex indoor air dynamics, recommending a multifaceted approach to pollutant detection. Consider using specialized testing equipment that can measure different types of contaminants simultaneously. This might include radon detectors, carbon monoxide monitors, humidity sensors, and particulate matter analyzers. Some advanced testing kits provide digital readouts and smartphone connectivity, allowing you to track environmental changes in real time.
Pro Tip: Document your testing process meticulously. Create a detailed log recording the location of each test, specific measurements, and timestamp. This documentation will help you track air quality trends and provide valuable information for potential remediation efforts.
Stage 5: Interpret Results and Plan Improvements
Interpreting indoor air quality test results requires a systematic approach that transforms raw data into actionable insights for creating a healthier living environment. Understanding the nuances of your test results will help you develop targeted strategies for improving your home’s air quality.
The EPA’s comprehensive guide to interpreting air quality assessments recommends a strategic approach to addressing detected pollutants. Start by categorizing your test results based on severity and potential health impacts. Focus on identifying the specific sources of contaminants like volatile organic compounds, particulate matter, humidity levels, and potential allergens. Look for patterns in different rooms and correlate findings with potential pollution sources such as household products, building materials, or ventilation issues.
The Asthma and Allergy Foundation of America suggests creating a prioritized improvement plan based on your test results. Develop a multi step remediation strategy that addresses the most critical air quality concerns first. This might involve improving ventilation, replacing air filters, removing potential sources of pollutants, or investing in air purification systems. Consider consulting with indoor air quality professionals for complex issues or if your test results indicate significant contamination levels.
Pro Tip: Create a color coded tracking system for your air quality improvement efforts. Use green for resolved issues, yellow for ongoing improvements, and red for critical concerns that require immediate attention. This visual approach helps you monitor progress and stay motivated throughout your indoor air quality enhancement journey.
Take Control of Your Home’s Air Quality with Trusted Purification Solutions
Assessing indoor air quality requires more than just awareness it demands effective action to reduce pollutants like VOCs dust and harmful particles. If you have noticed musty odors persistent dust or concerns about allergens and chemical contaminants it’s time to enhance your living environment with reliable air purification technology. At Coway, we understand how crucial clean air is for your health and wellbeing which is why our advanced air purifiers use cutting edge filtration and smart sensors to tackle the very challenges highlighted in your air quality assessments.

Explore a range of air purification products designed to address common indoor pollutants and improve air circulation effectively. Visit Coway’s official site to discover models equipped with multi stage filters UV sanitization and real time air quality monitoring. Don’t wait until poor air quality impacts your family’s health take action now and create a safer home environment. Start your journey to cleaner air today by visiting https://cowayswaterpurifier.com and clicking Get Yours to find the perfect solution for your home’s unique needs.
Frequently Asked Questions
How can I effectively prepare my home for an indoor air quality assessment?
To prepare your home for an indoor air quality assessment, start by thoroughly cleaning all living spaces. Dust surfaces, vacuum carpets with a HEPA filter, and ventilate the area by opening windows for at least 30 minutes.
What are common sources of indoor air pollution that I should look for?
Common sources of indoor air pollution include household cleaning products, building materials, and combustion appliances. Conduct a room-by-room assessment to identify these potential contaminants, especially in areas like bathrooms and kitchens where moisture is high.
What tools should I use to monitor indoor air quality?
Select air quality monitoring tools that can detect specific pollutants such as carbon monoxide, particulate matter, and volatile organic compounds. Look for multifunctional devices with digital displays that offer real-time readings and tracking capabilities.
How do I conduct comprehensive indoor air quality testing?
Conduct indoor air quality testing by inspecting each room in your home with professional-grade testing kits designed for various contaminants. Focus on areas prone to moisture and poor ventilation to ensure an accurate assessment of the air quality.
How can I interpret the results of my indoor air quality tests?
To interpret your indoor air quality test results, categorize them by severity and potential health impacts. Identify sources of contamination based on your findings and create a prioritized improvement plan to tackle the most critical issues first.
What steps can I take to improve my indoor air quality based on test results?
Based on your test results, consider steps such as improving ventilation, replacing air filters, and removing identified sources of pollutants. Aim to implement immediate changes for critical concerns to enhance your home’s air quality within 30 days.
Recommended
- Indoor Air Quality: Everything You Need to Know – Coway Water Purifier
- Indoor Air Quality: Everything You Need to Know – Coway Water Purifier
- Why Filter Indoor Air: Complete Guide for Homeowners – Coway Water Purifier
- 8 Indoor Air Quality Tips for a Healthier Home – Coway Water Purifier
- Master Seasonal Allergen Management for Your Business – Probe IT
- 7 Best Air Purification Plants for Healthier Indoor Air – Lushy Gardens